A great cake can fix almost anything. Even if you are not quite the sweet tooth, a great cake does good to the soul. This year, I want us to bake a lot more. I enjoy cooking and over the years I have also gained a lot of confidence with the science that baking is. Plenty of beautiful things are being birthed from my oven. I asked you guys on my Instagram Stories which cake we should bake this week and with nearly 30,000 votes in, 64% voted in favor of Red Velvet and here we are!
I must admit, I have long wondered why red velvet is much loved. Never got the hype! After this same conversation on twitter last year, Anita told me actually a red velvet should have a chocolate-y taste and a mild bitterness from the cocoa. What people make in KE is usually just a dry-ass plain cake, with a red color. That is not red velvet. A real red velvet must be buttery. It must be moist. It must have a chocolate-y cocoa taste. And yes, it must have it’s signature red hue. Today I walk you through how to make a legit red velvet and I cannot wait to see you guys try this out with your friends and family!
I made a dope vid to accompany the blog post. Do watch below, and subscribe!
PREP TIME: 30 min COOK TIME: 2hr MAKES: 2KG cake
Ingredients
For the cake

3 cups of flour
1 teaspoon of baking powder
2 tablespoons of unsweetened cocoa
¼ teaspoon of salt
1 ¾ cups of sugar
½ cup of unsalted butter
½ cup of vegetable oil
1 teaspoon of vanilla extract
4 eggs (whites & yolks separated)
1 cup of mala
1 teaspoon of white vinegar
1 tablespoon of red coloring agent
For the frosting
450g of cream cheese
½ cup of butter
1 cup of icing sugar
1 tablespoon of vanilla extract
Method
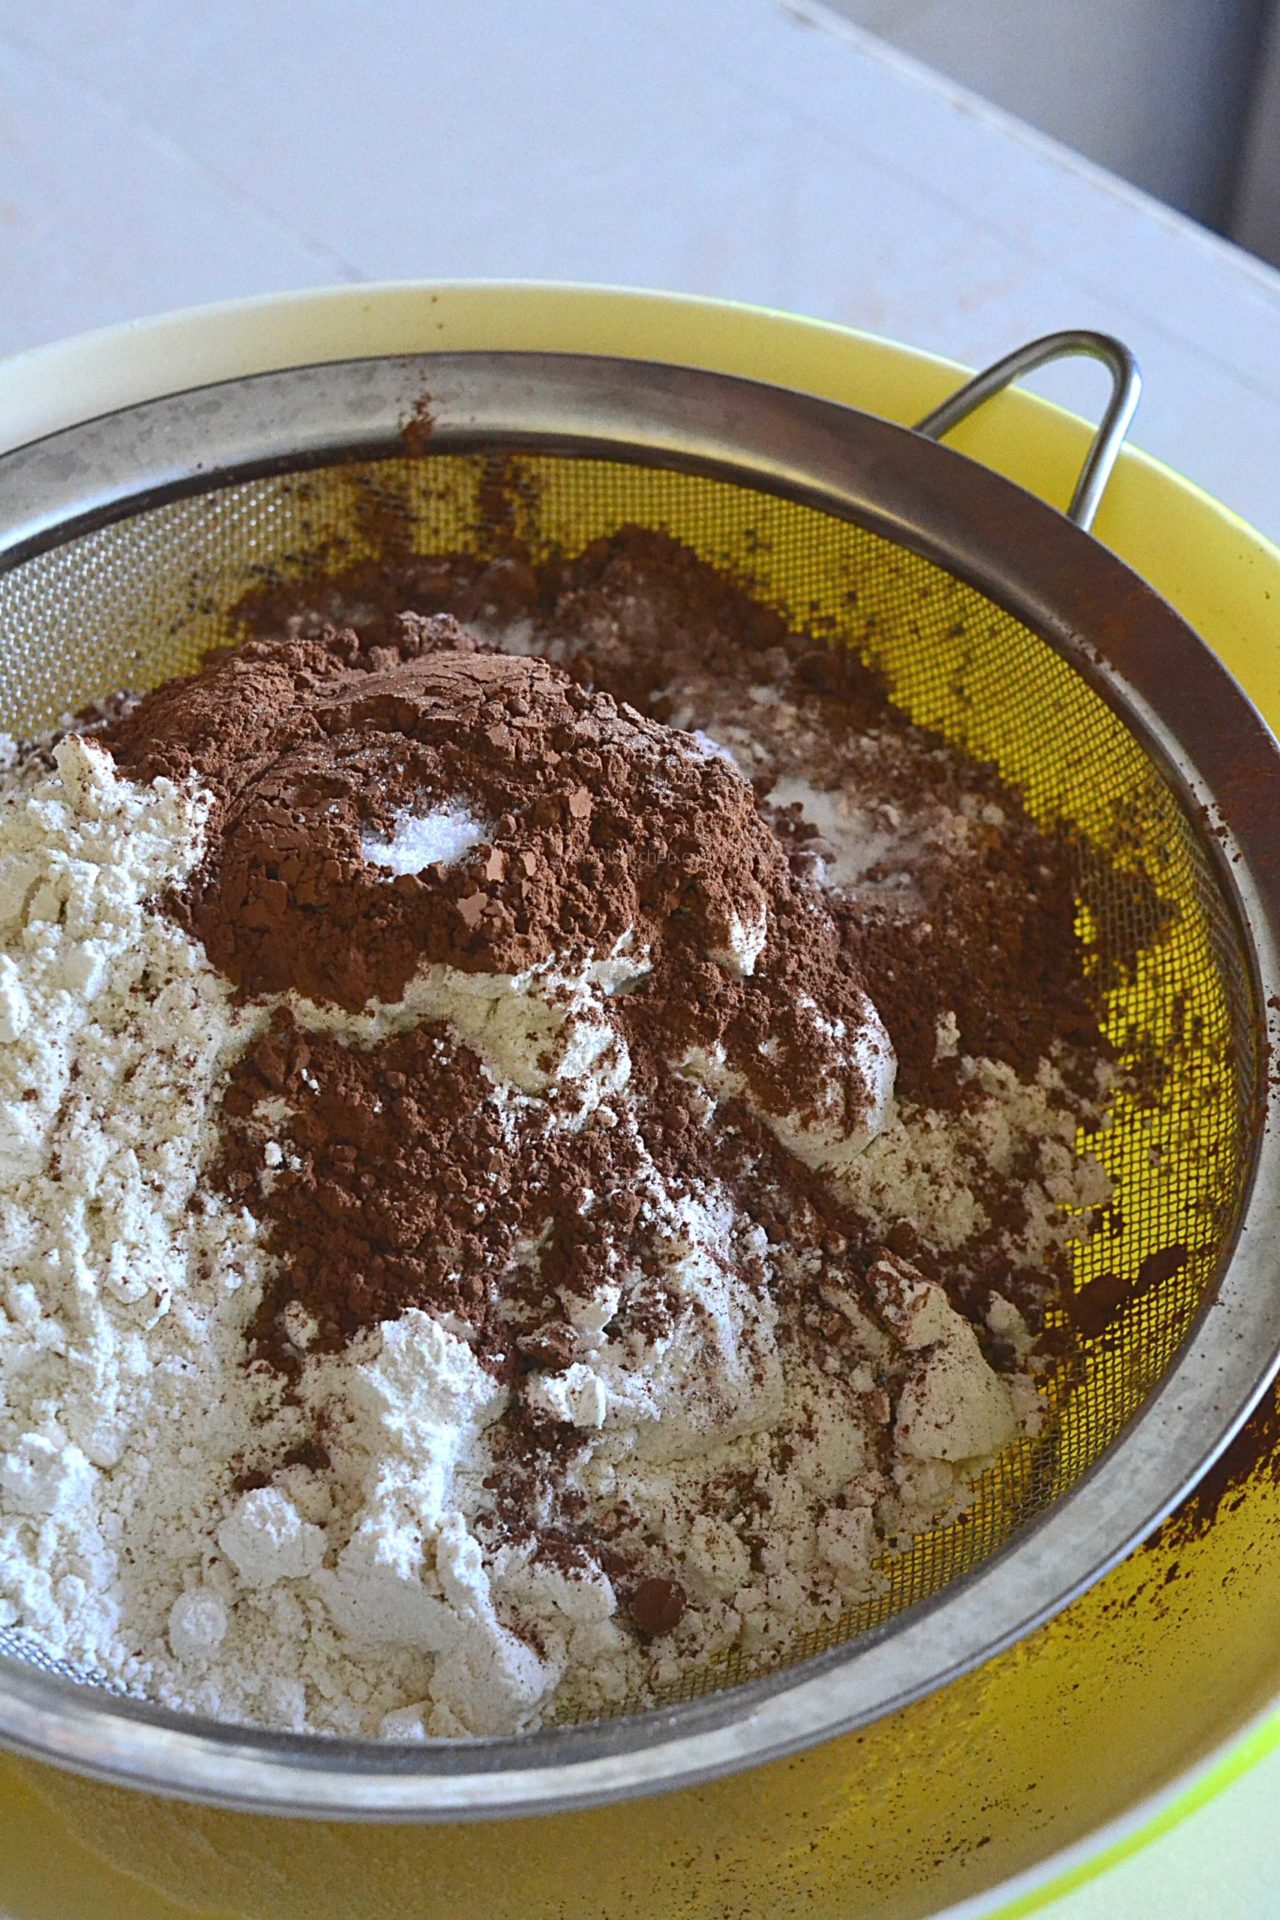
Begin by sieving together the flour, salt, baking powder and cocoa. The cocoa is an important ingredient of a red velvet and must be present. Make sure you purchase unsweetened, natural cocoa (not drinking chocolate or milo).
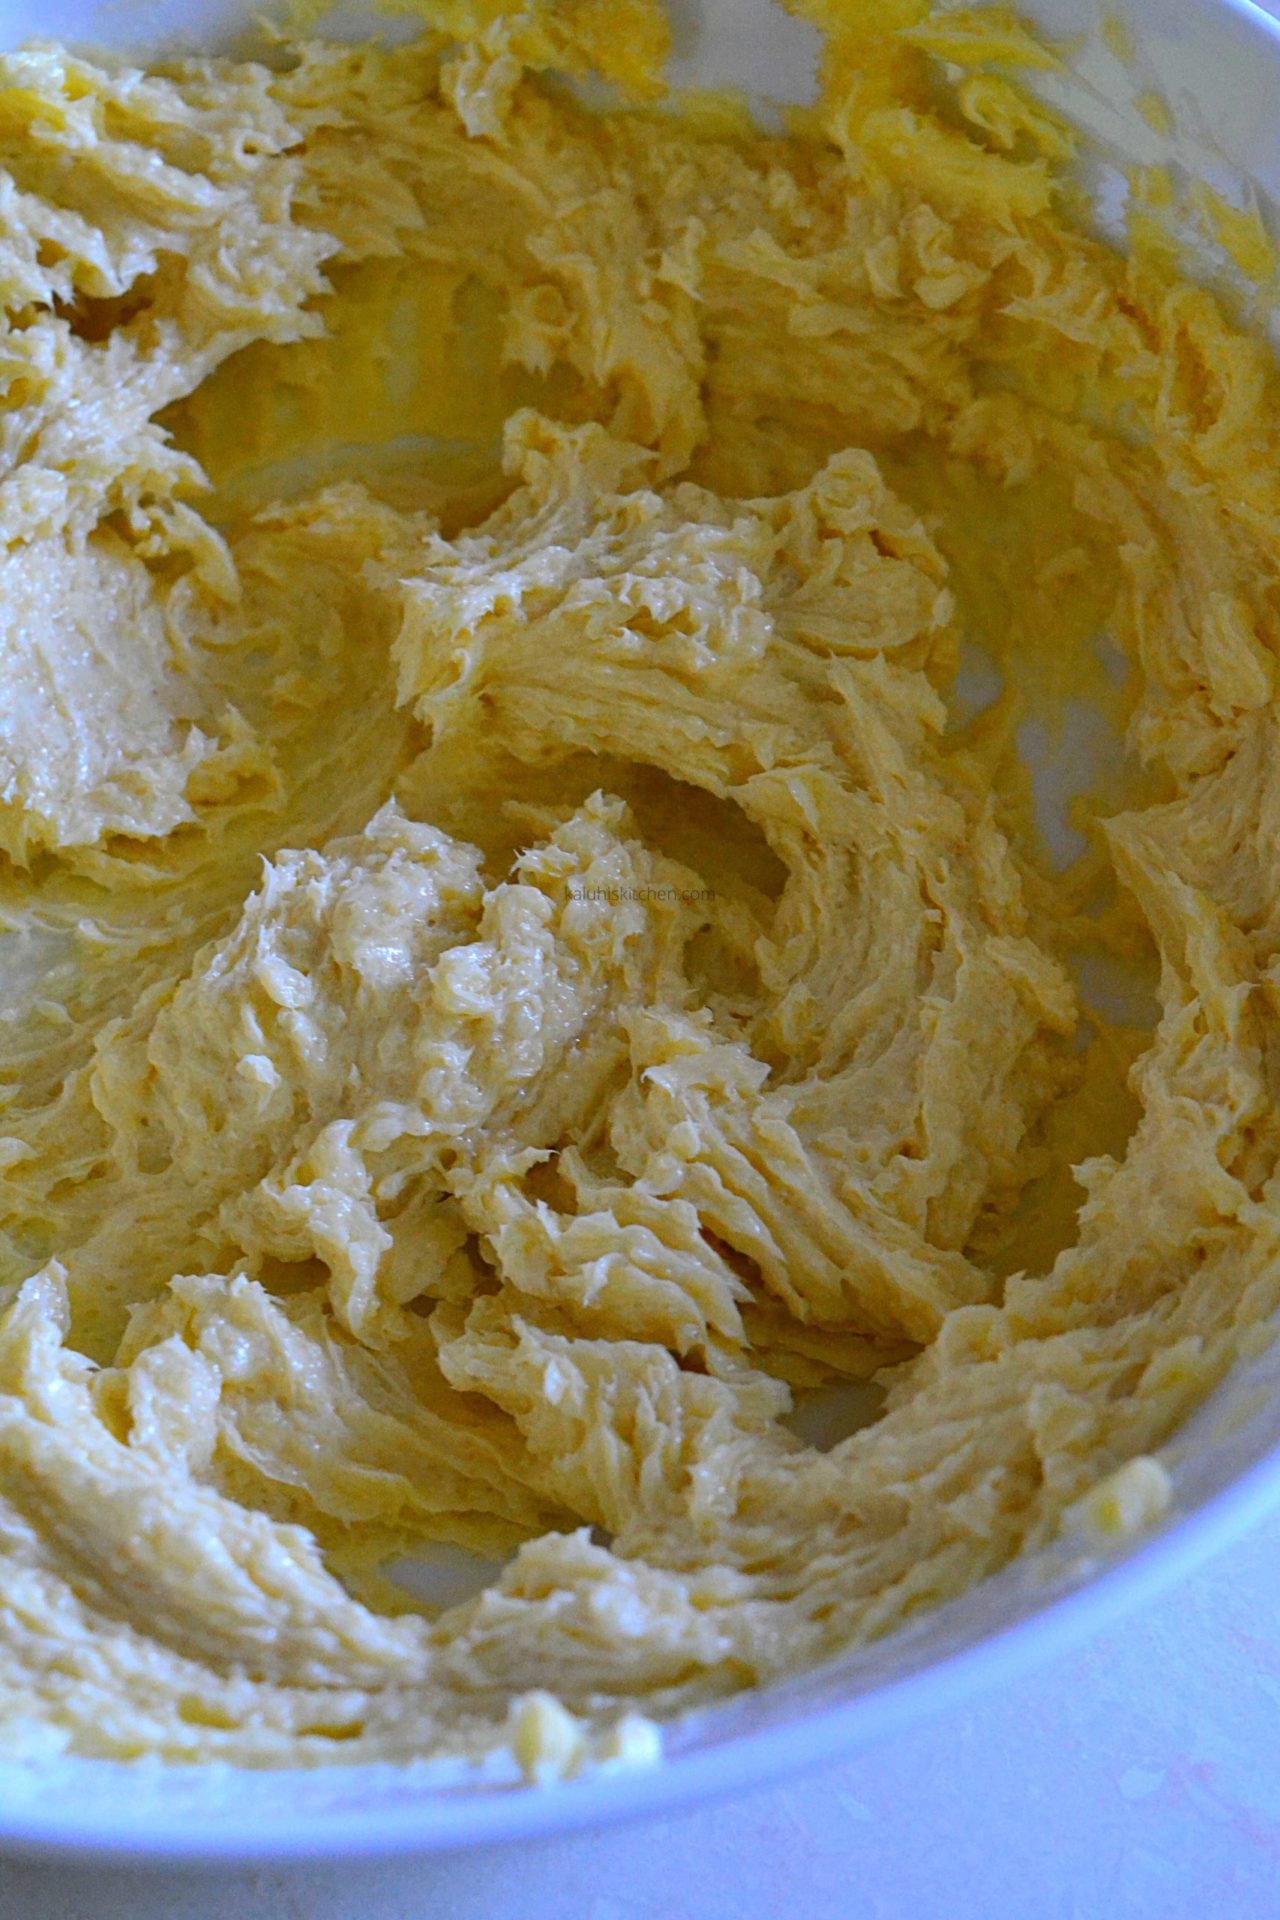
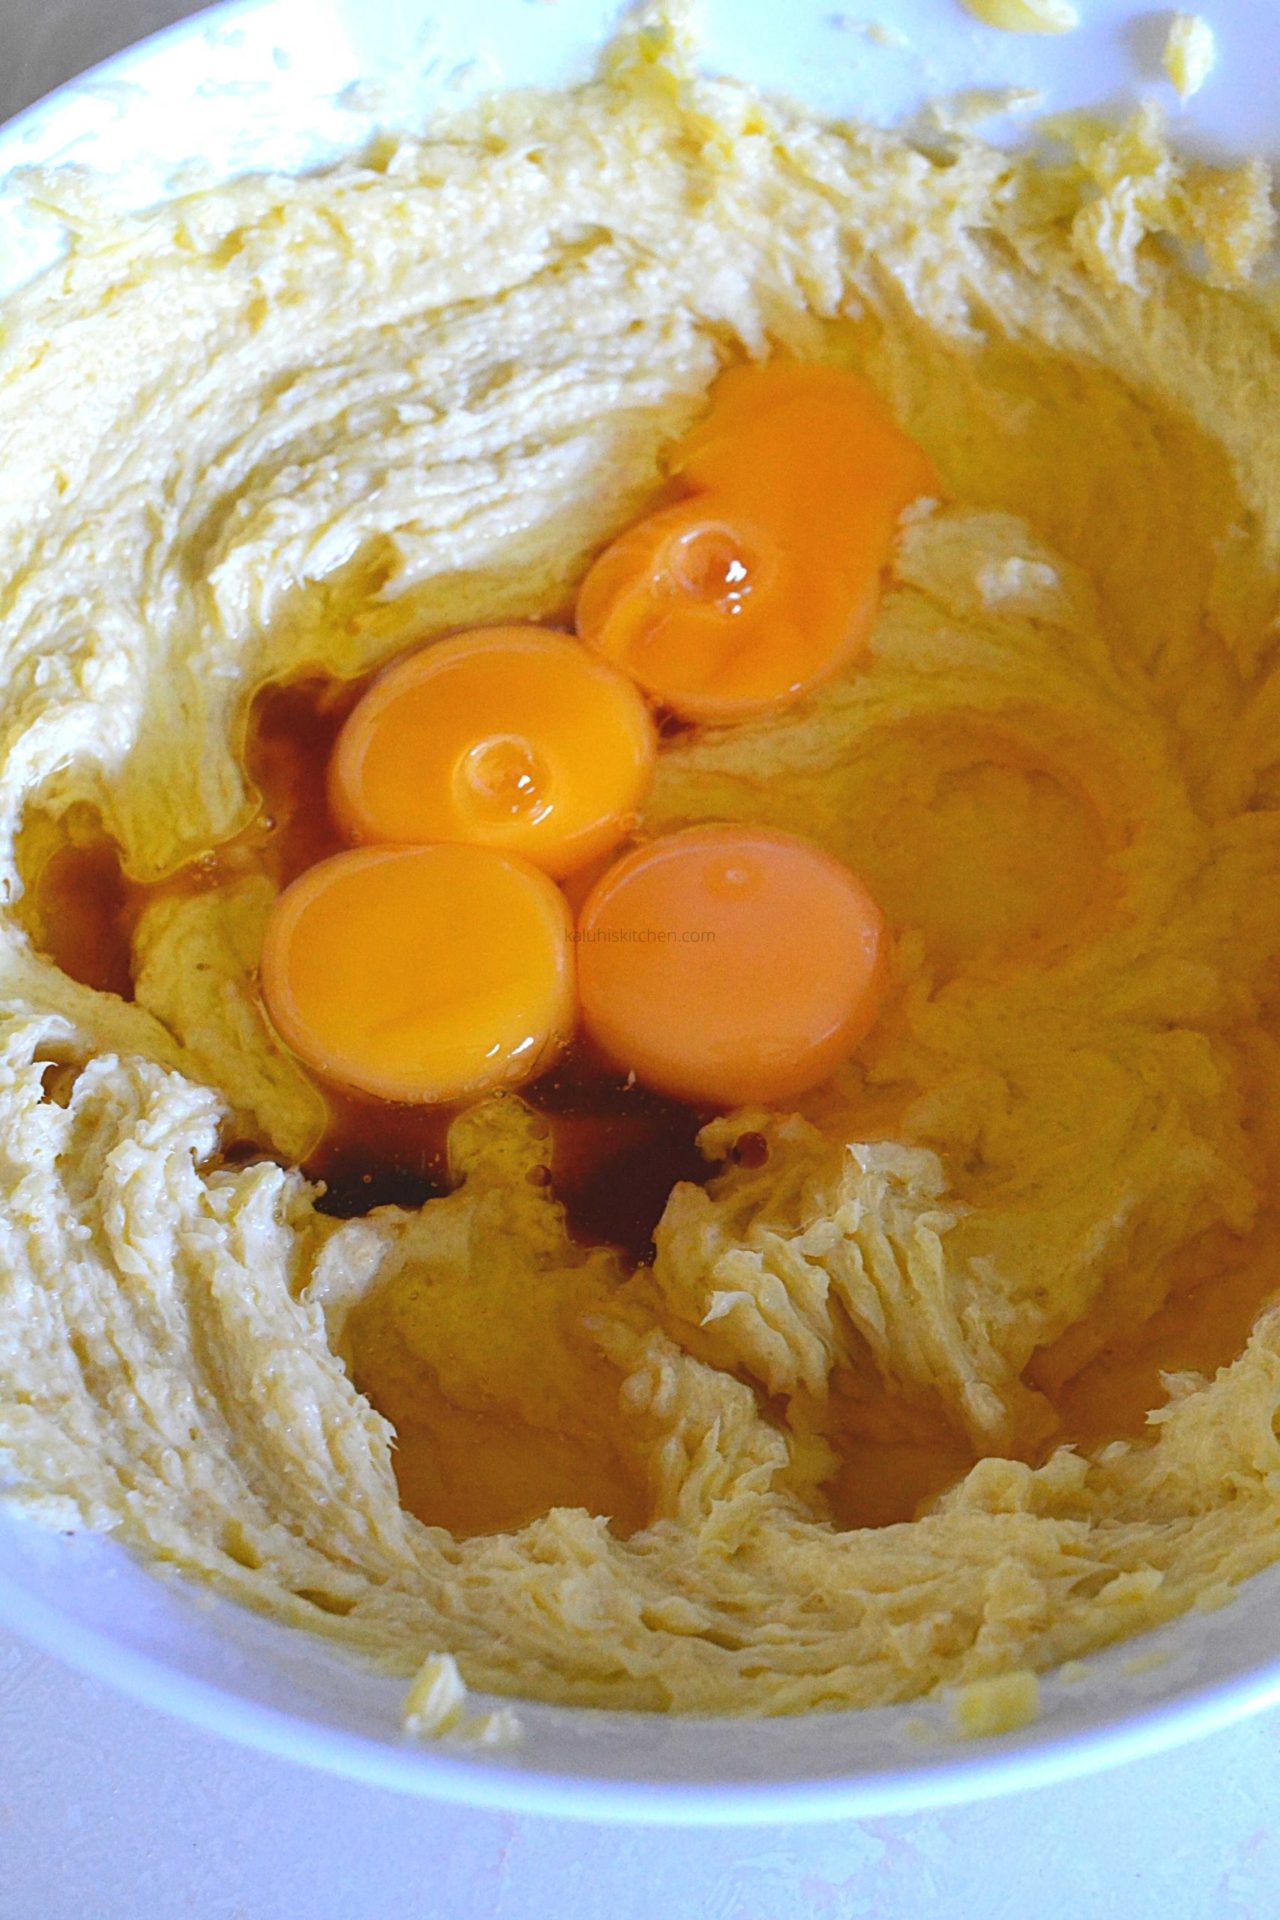
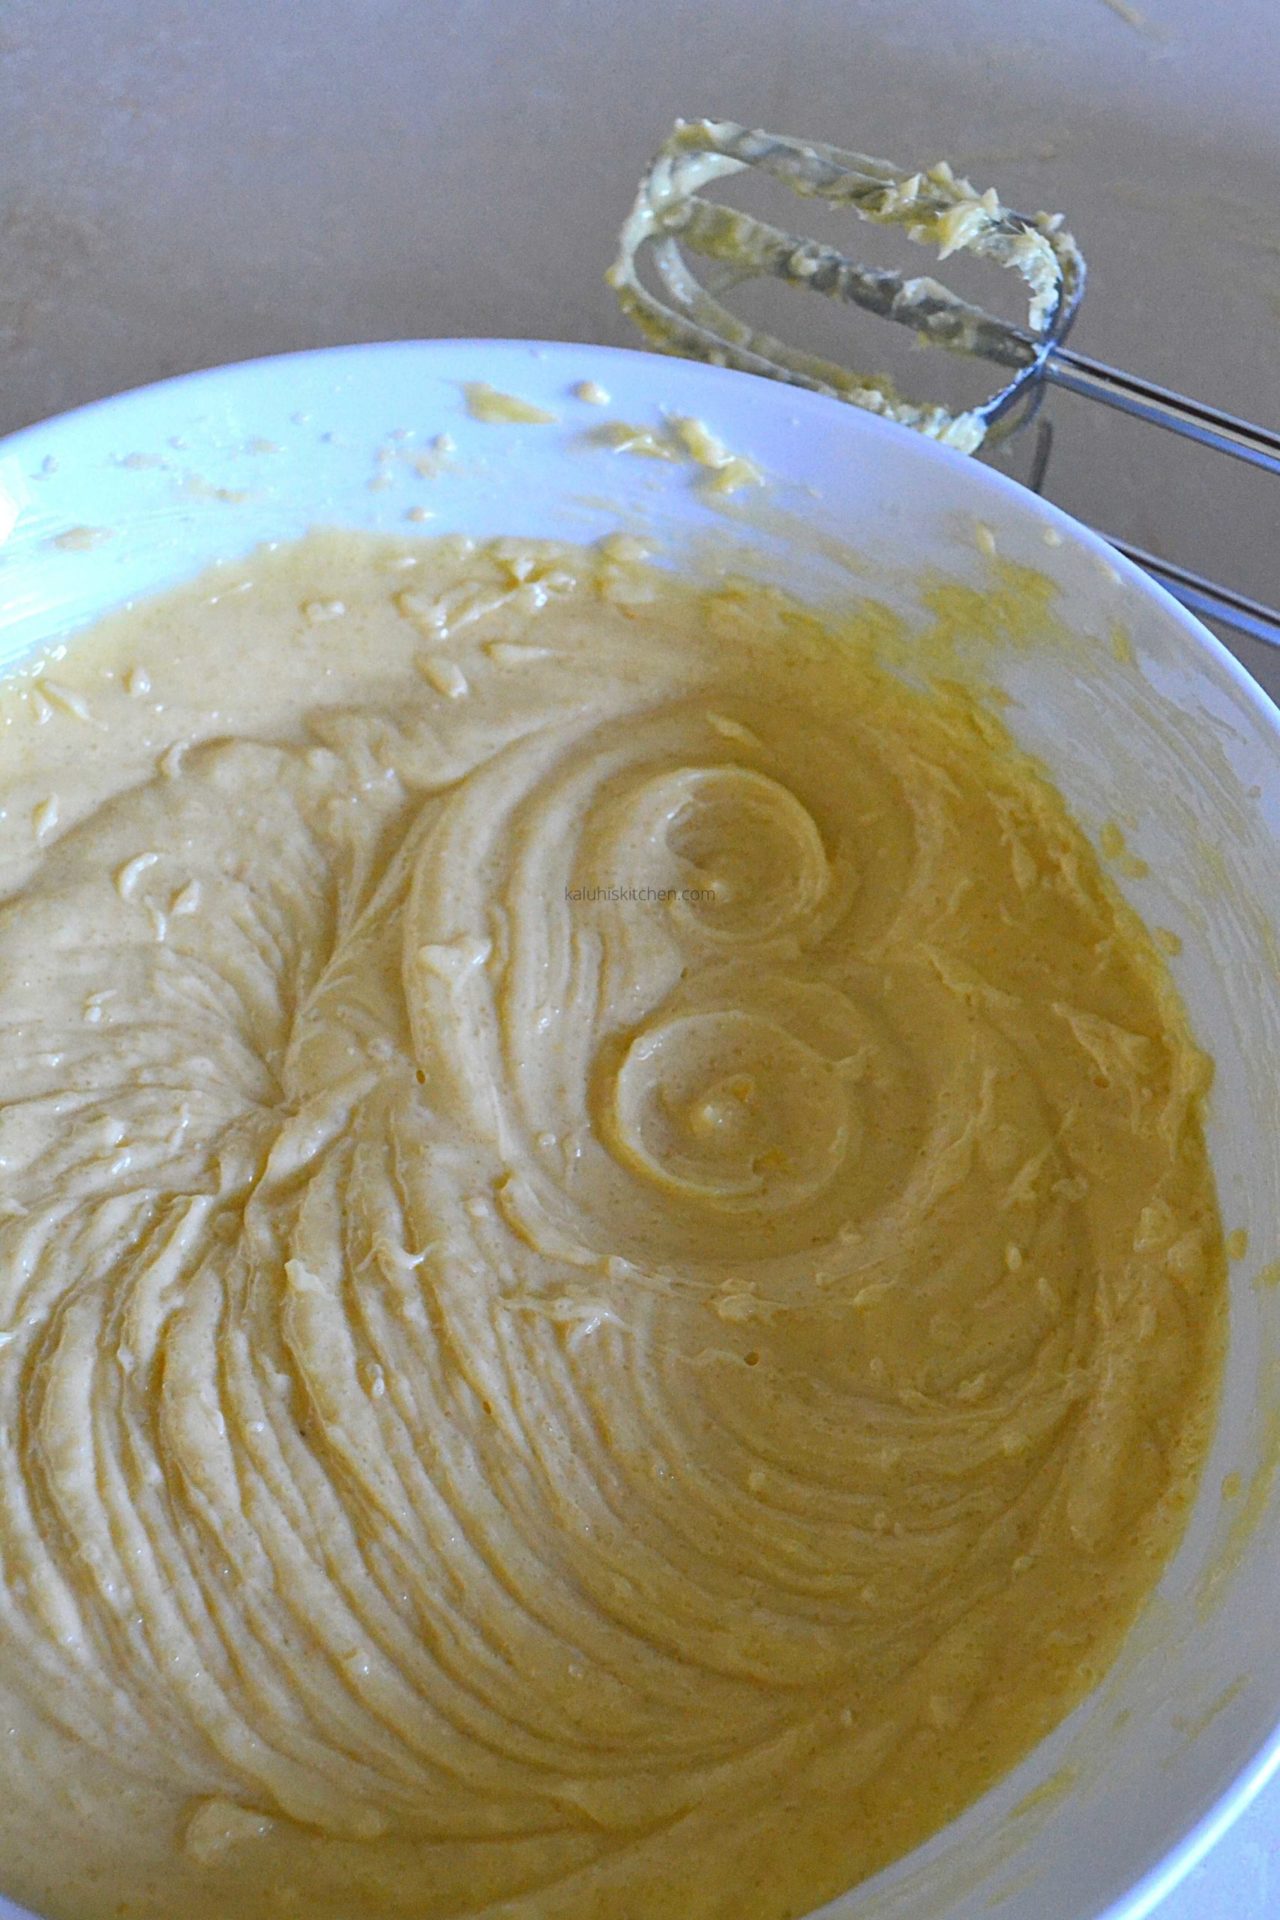
Set aside. In another bowl, cream the butter and the sugar and then add in the yolks, oil, vanilla and vinegar. I always say this but let me repeat: for baking every ingredient must be precise and measured to the letter. The only ingredient you can adjust is sugar, everything else goes unchanged. Remember natural cocoa is bitter, and you will need a significant amount of sugar to offset that bold bitter note. I recommend for this recipe, keep the sugar quantity as is. I found the sweetness and the mild bitterness of the cocoa balanced perfectly at the end.
For this recipe we are using both oil and butter because we want the cake to be moist & rich as a result of those two ingredients respectively.
Every single ingredient for this recipe must be at room temperature as this allows for easy combination. The vinegar is added as it will intensify the red color. You will however not taste it.
Whisk until combined.
In your third bowl, whip the egg whites until stiff peaks form.
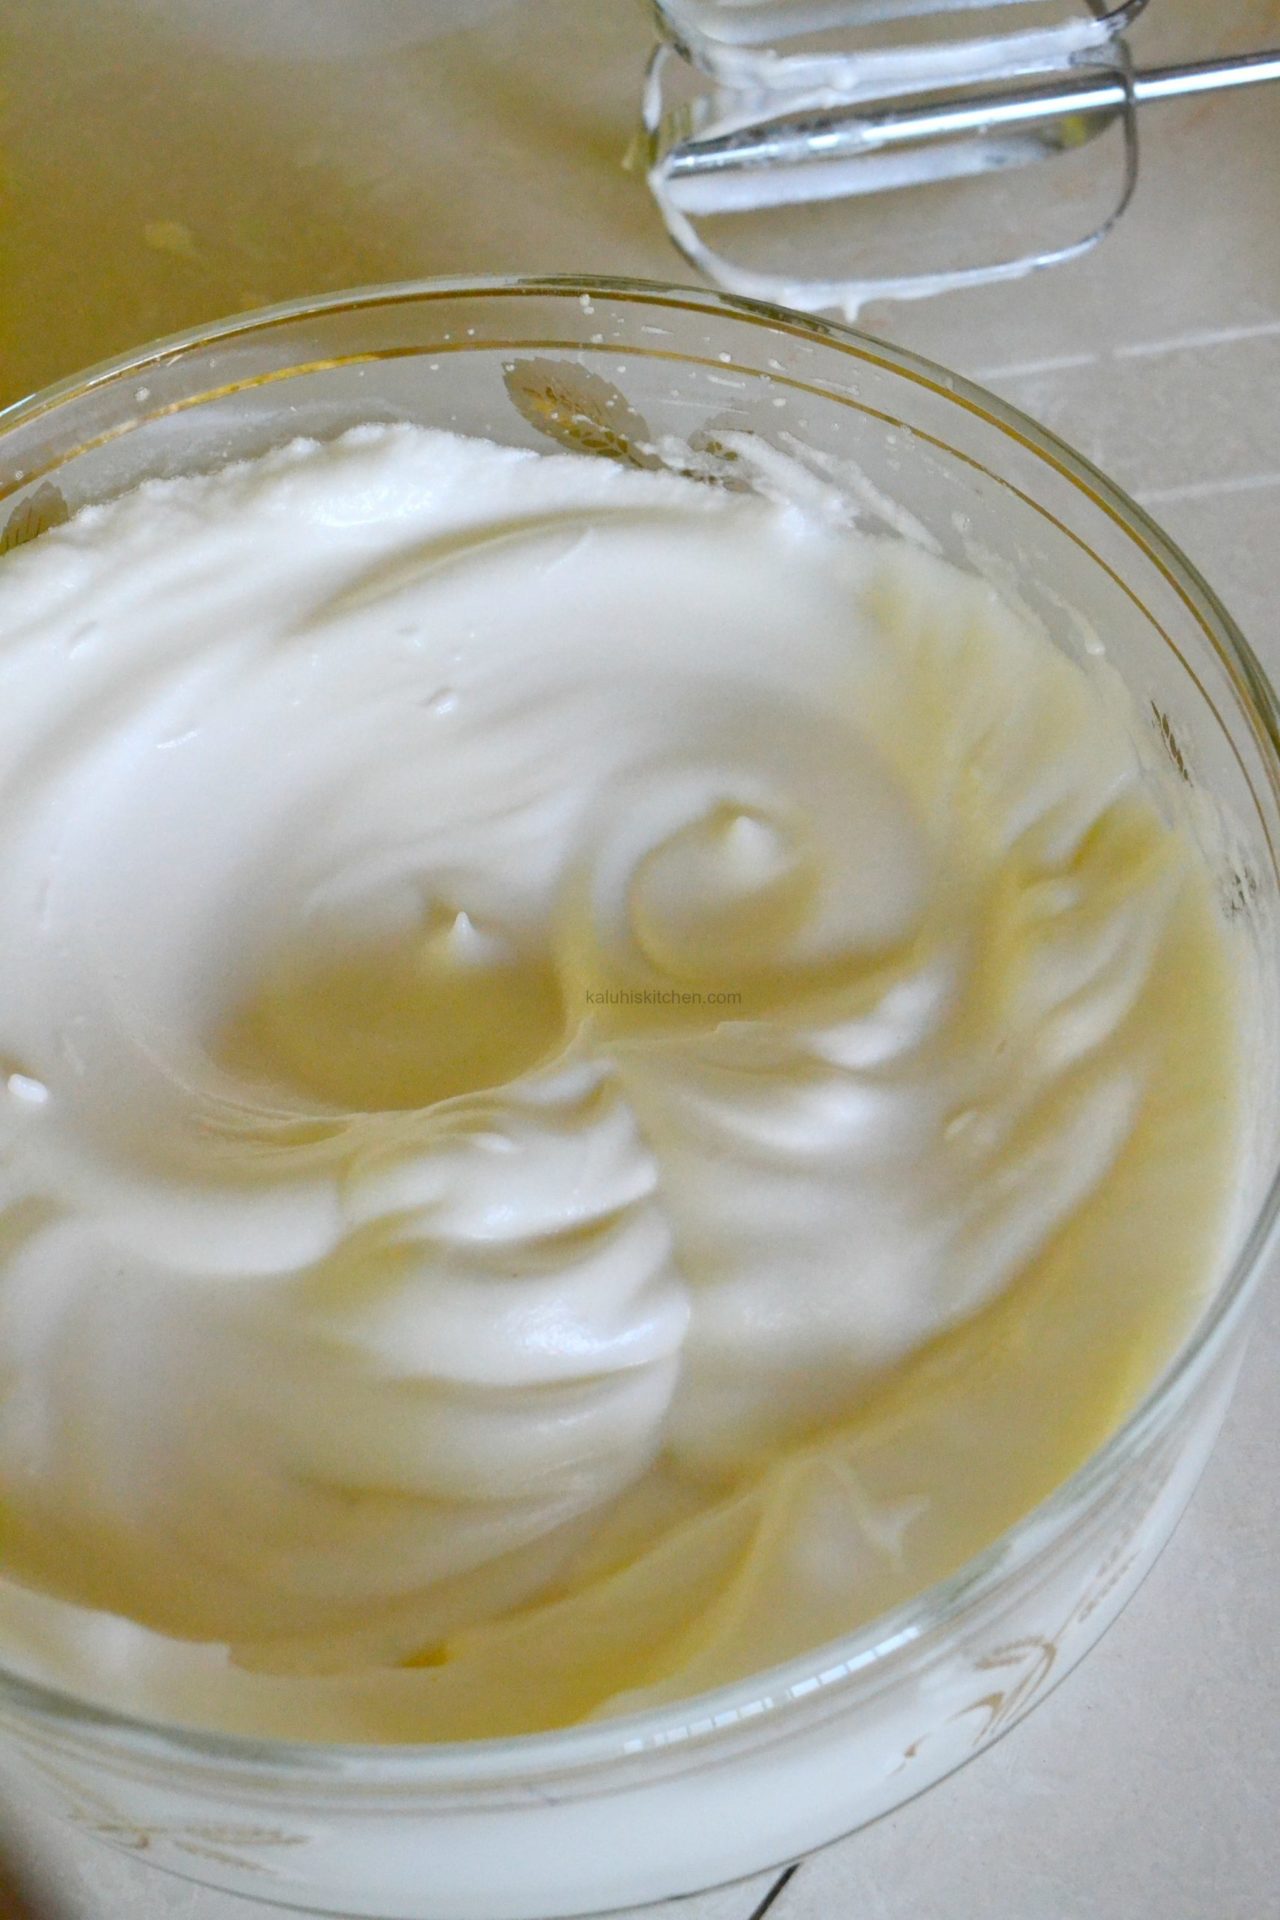
Why do we separate the whites from the yolks? We do so so that we play up on their individual properties. The whites will give your cake extra lift and the yolk will impart beautiful richness.
With the prep done, we go straight and combine everything.
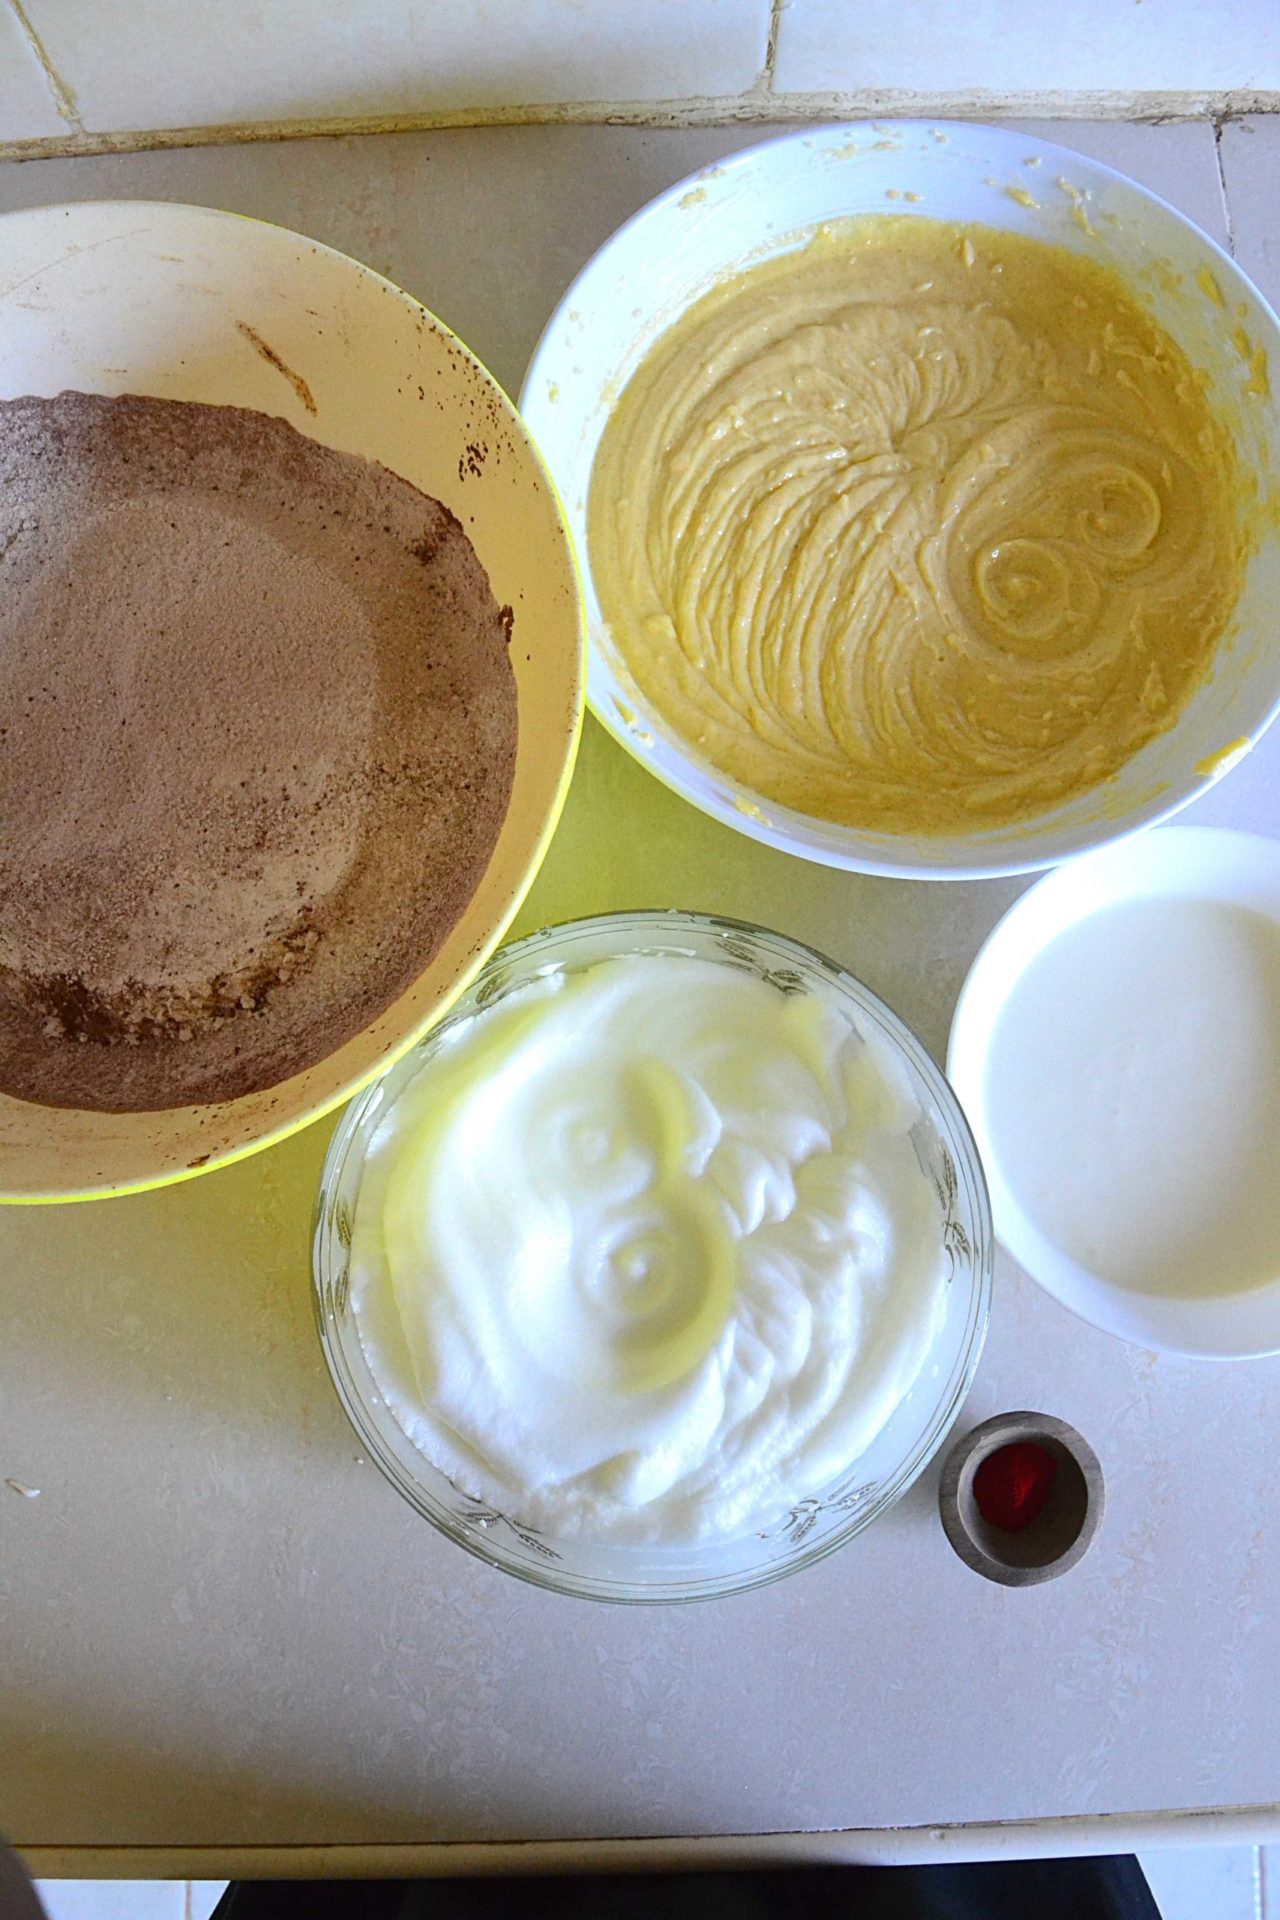
Pour in the wet ingredients into the bowl with the dry ingredients alternatingly with the mala, mixing with each addition. You can better see that from the video at 7.20 – 7.26.
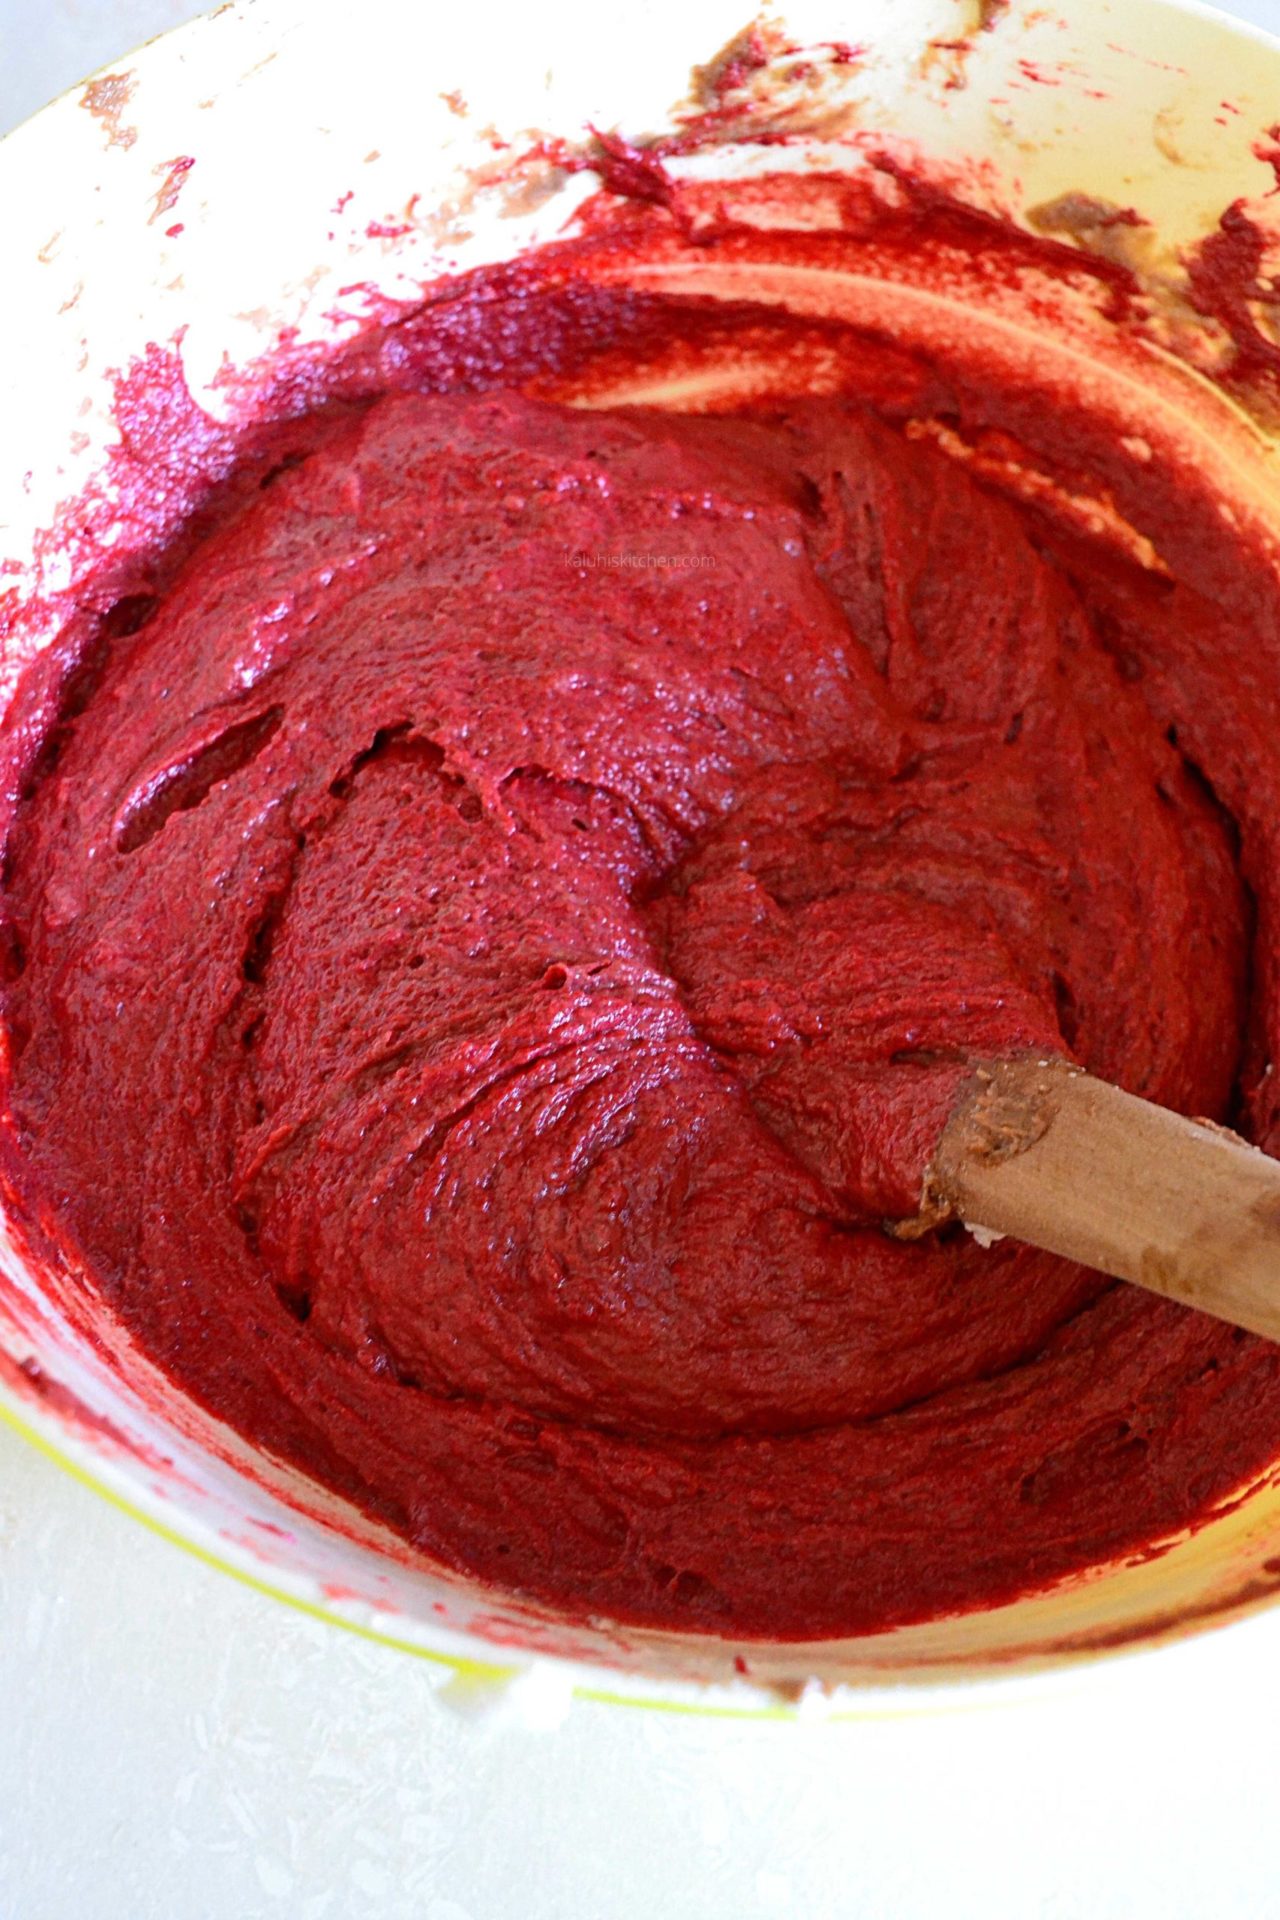
Mala is fermented milk and in place of mala, you can use butter milk/ amasi/ kefir. Mala also ensures your cake is very moist too. Once everything is mixed in, at this point, it will be deep brown at this stage as a result of the cocoa.
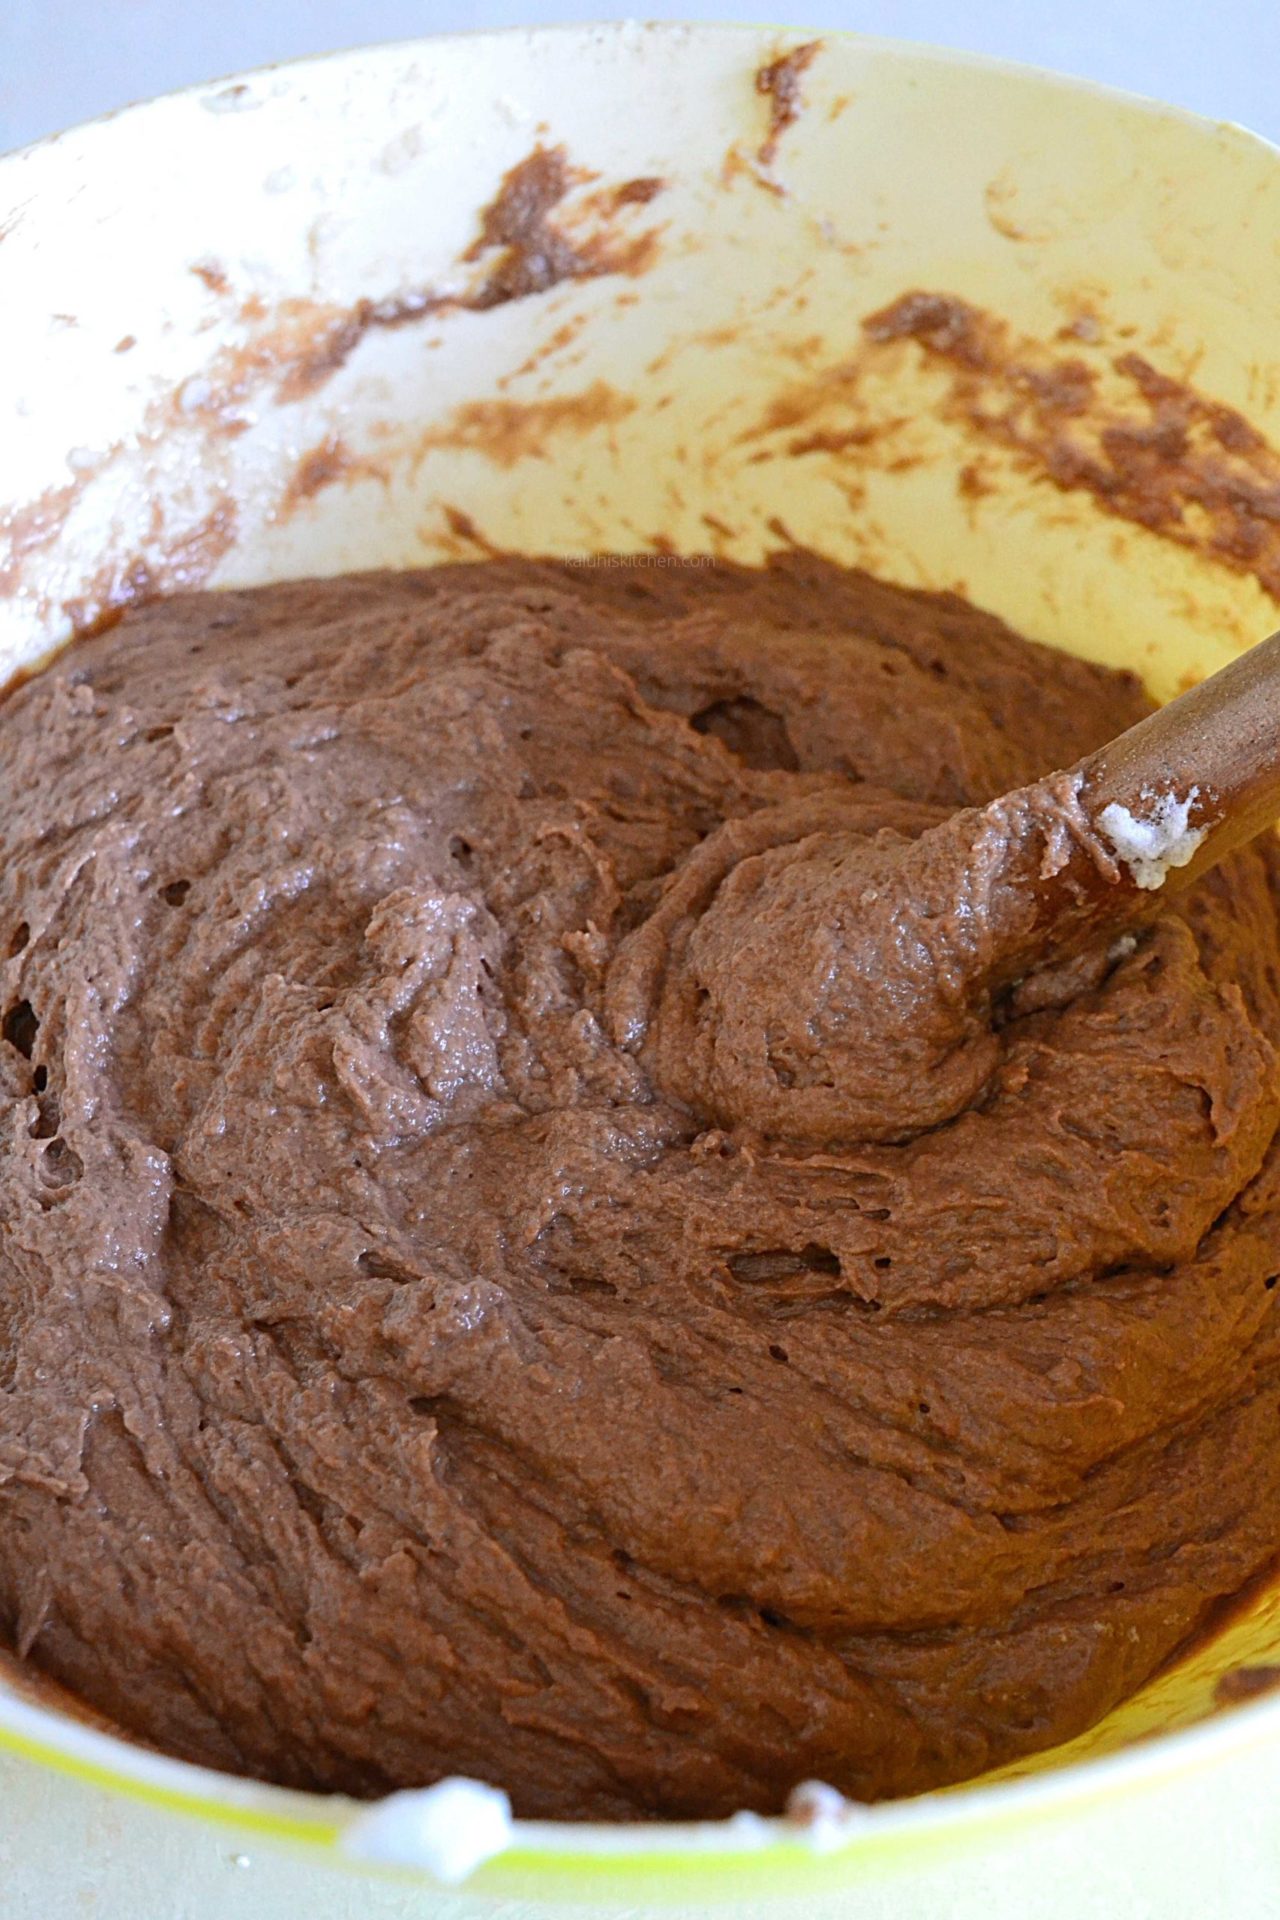
Once just combined fold in the egg whites and then add in the coloring agent. Depending on the type you use (gel or powder) you may need more or less than the quantity I used. Feel free to adjust the color until it is as red as you fancy. Mix that in, and once done, your batter should be silky and slightly sticky.
Divide the batter between two pans. I used 10 inch wide pans for this. Make sure the pans are lined, floured and dusted to allow easy release of your cake once you are done.
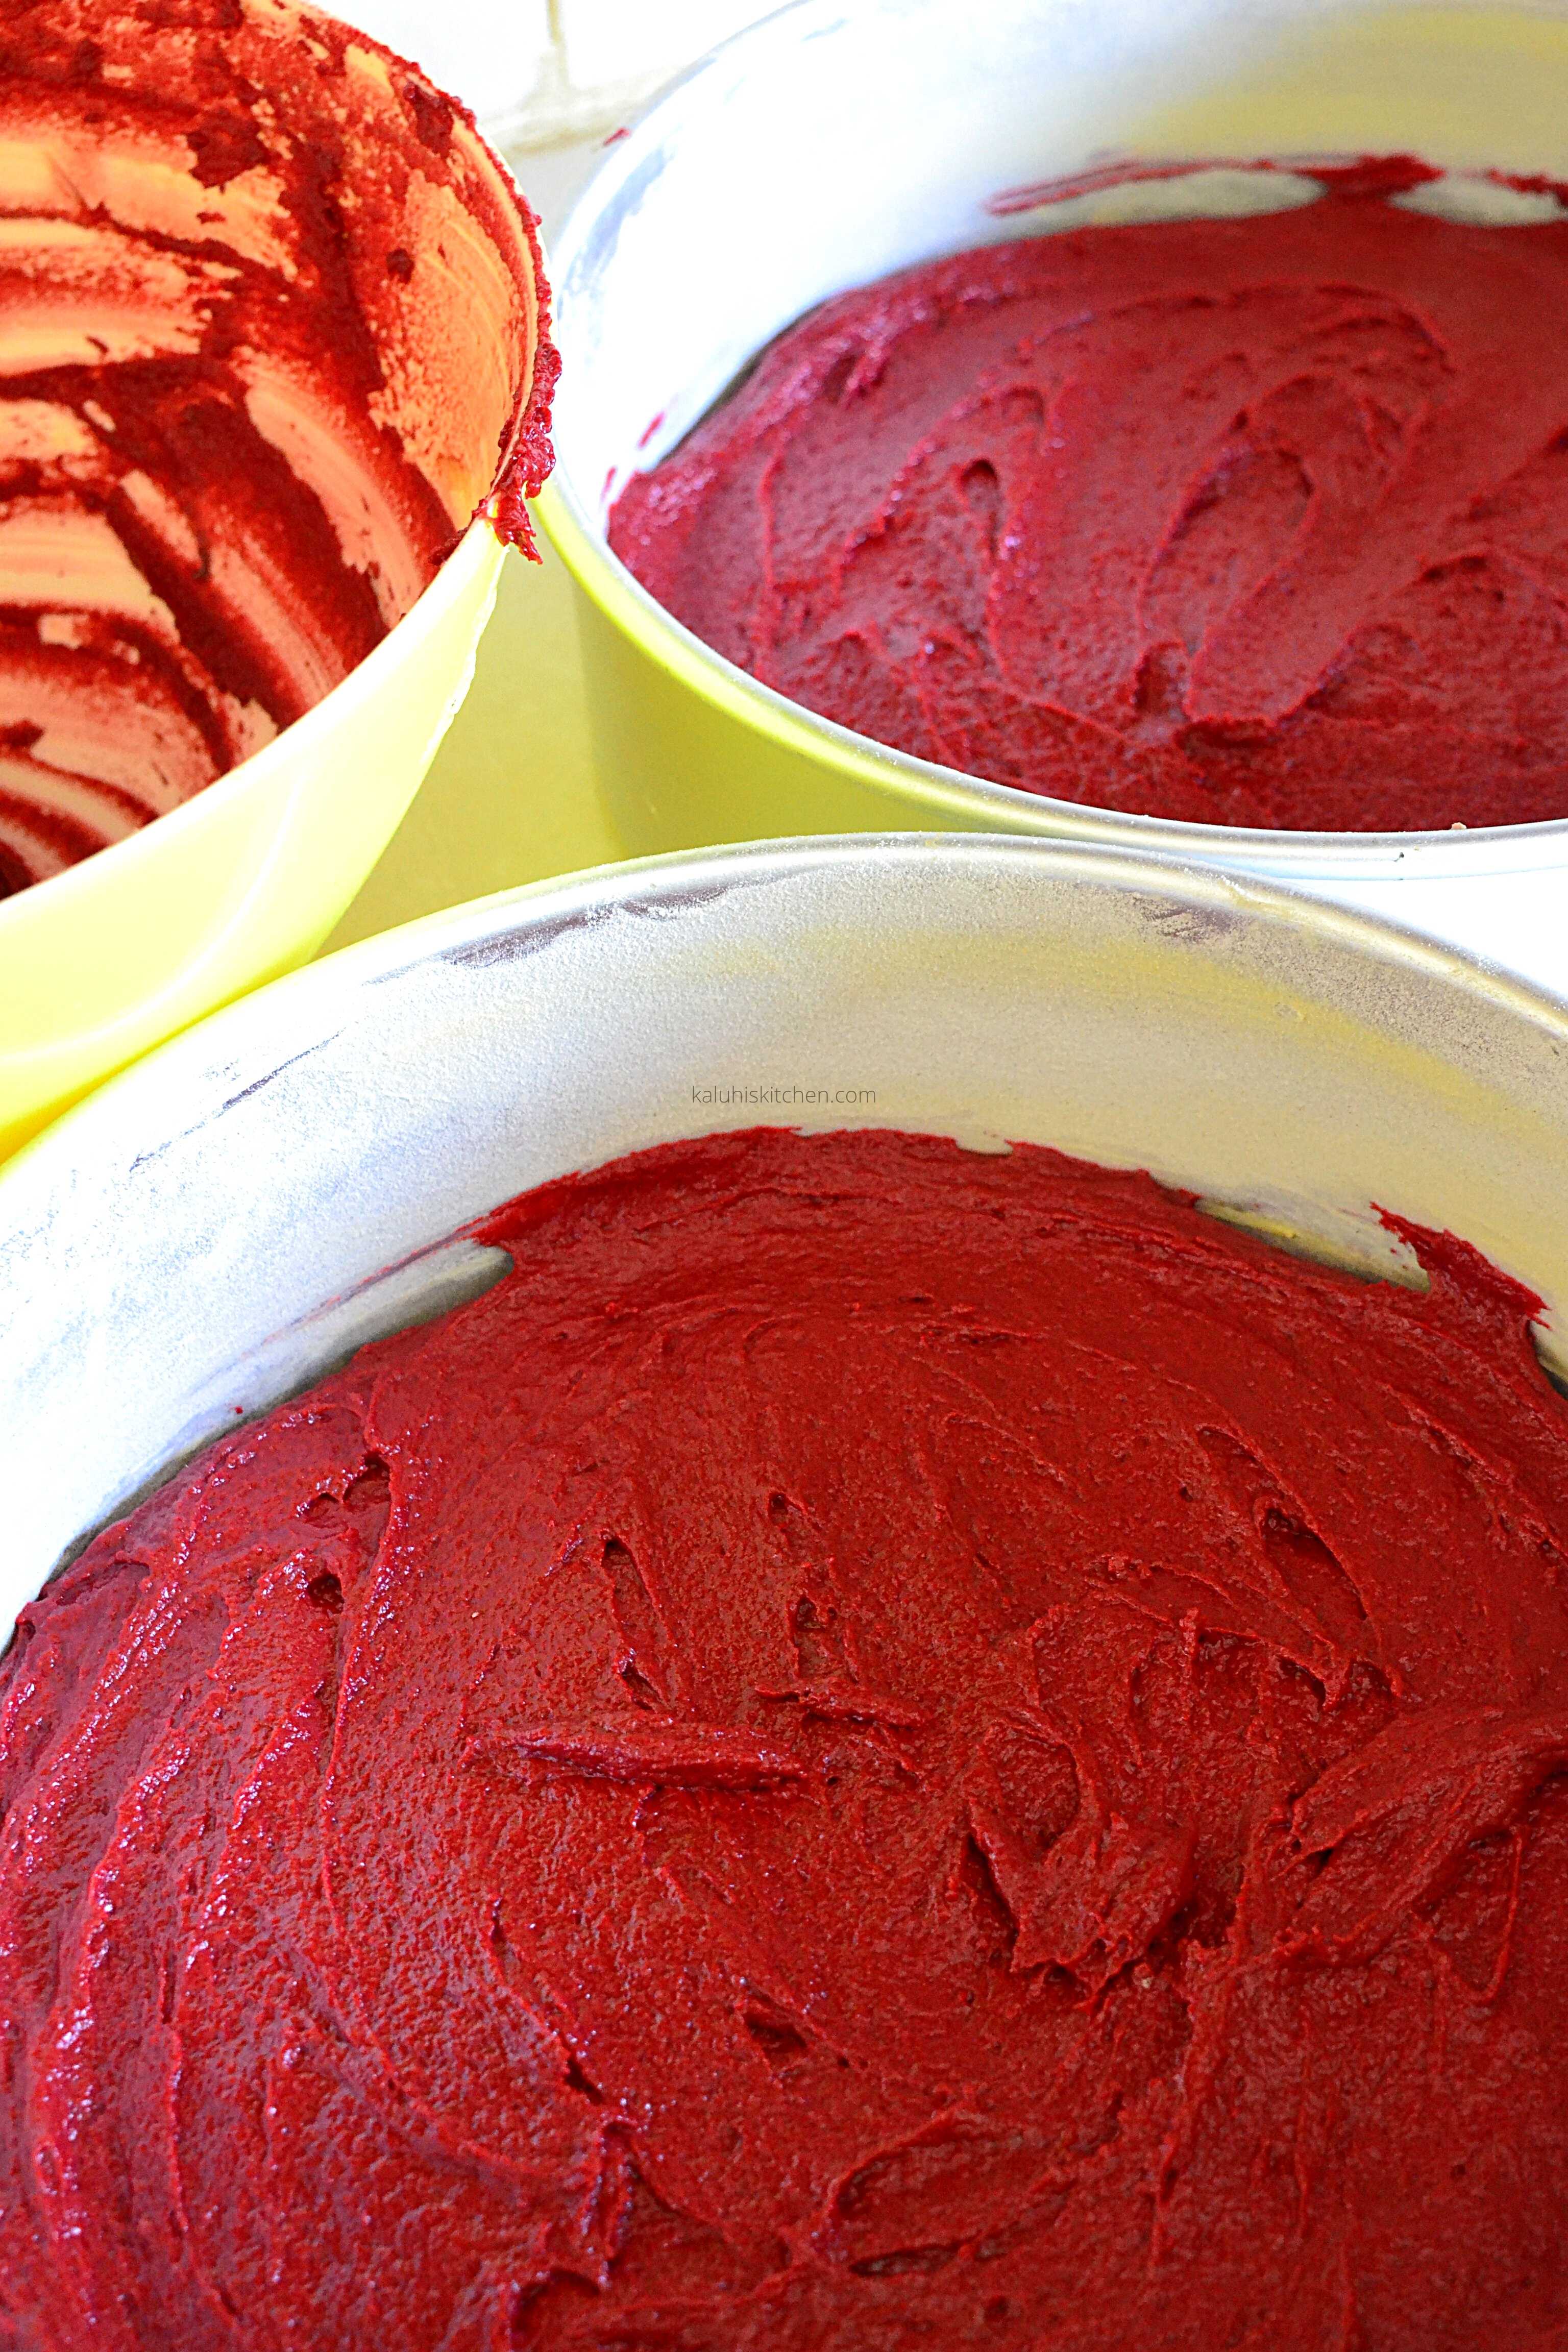
You can use pans with different dimensions BUT make sure you adjust the time it takes to bake as well. A smaller pan will require you bake for more time. Two 10 inch pans will have your cake bake for 20 minutes, but two 9 inch pans have you have for 25-30 min etc etc. If you decide to use one pan as opposed to two pans, you will need even more time. Changing of the pan size/pan number will demand that the time taken to bake be adjusted as well. Make sure you always test the doneness of your cake. How? By poking with a skewer or fork. If it comes out clean, you are done. Be careful not to overbake because we do not want a dry cake. You can follow my recipe quantities to a T, but if you overbake, the cake will be dry. Overbaking will give you a dry crumb; which we do not want. Ensure you test the doneness of your cake and remove from the oven once confirmed to be baked through and through.
Let this bake at 150c in 10 inch pans for 20 minutes.
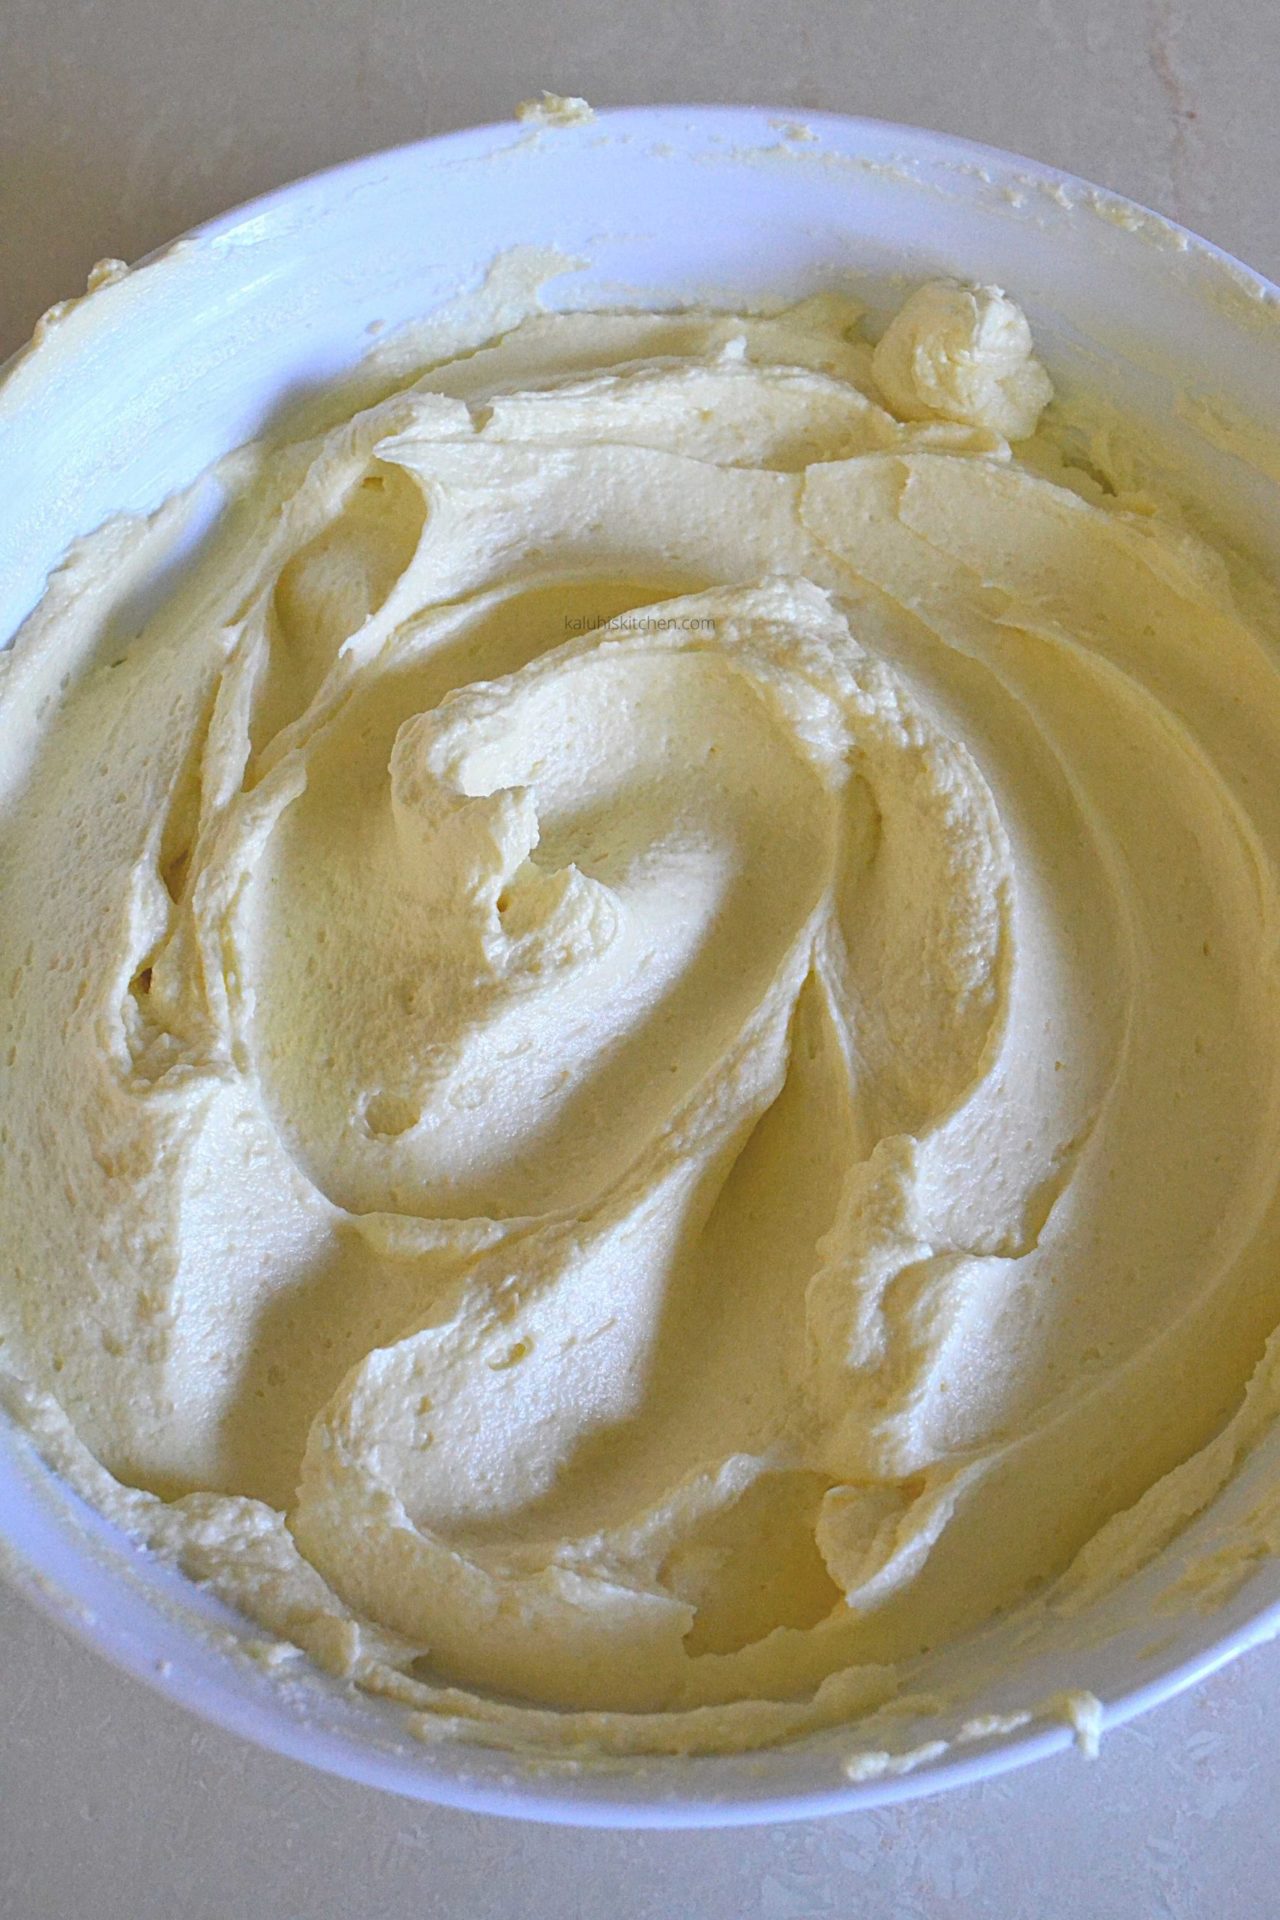
As the cake bakes, work on the frosting. For this, I went with cream cheese frosting. Buttercream pairs so well with a red velvet too but I like the richness of cream cheese a lot more. Like the ingredients of the cake, everything I used is purchased in any well stocked supermarket. Also for the frosting, make sure everything you use is at room temperature.
For the frosting, whisk the cream cheese and the butter until combined. Add the vanilla and the sugar and whisk until smooth and creamy.
Wait for the cake to bake & cool down completely and then frost it. If you frost a warm cake, the frosting will melt. Let it cool down completely!
You can make the frosting ahead of time, just let it stay in the fridge. But once you remove it from your fridge, it will be a bit stiff, so allow it to warm up & rise to room temp. I frosted my cake after an hour so my frosting just stayed on the countertop and by the time I was frosting, it was still pretty soft which I loved.
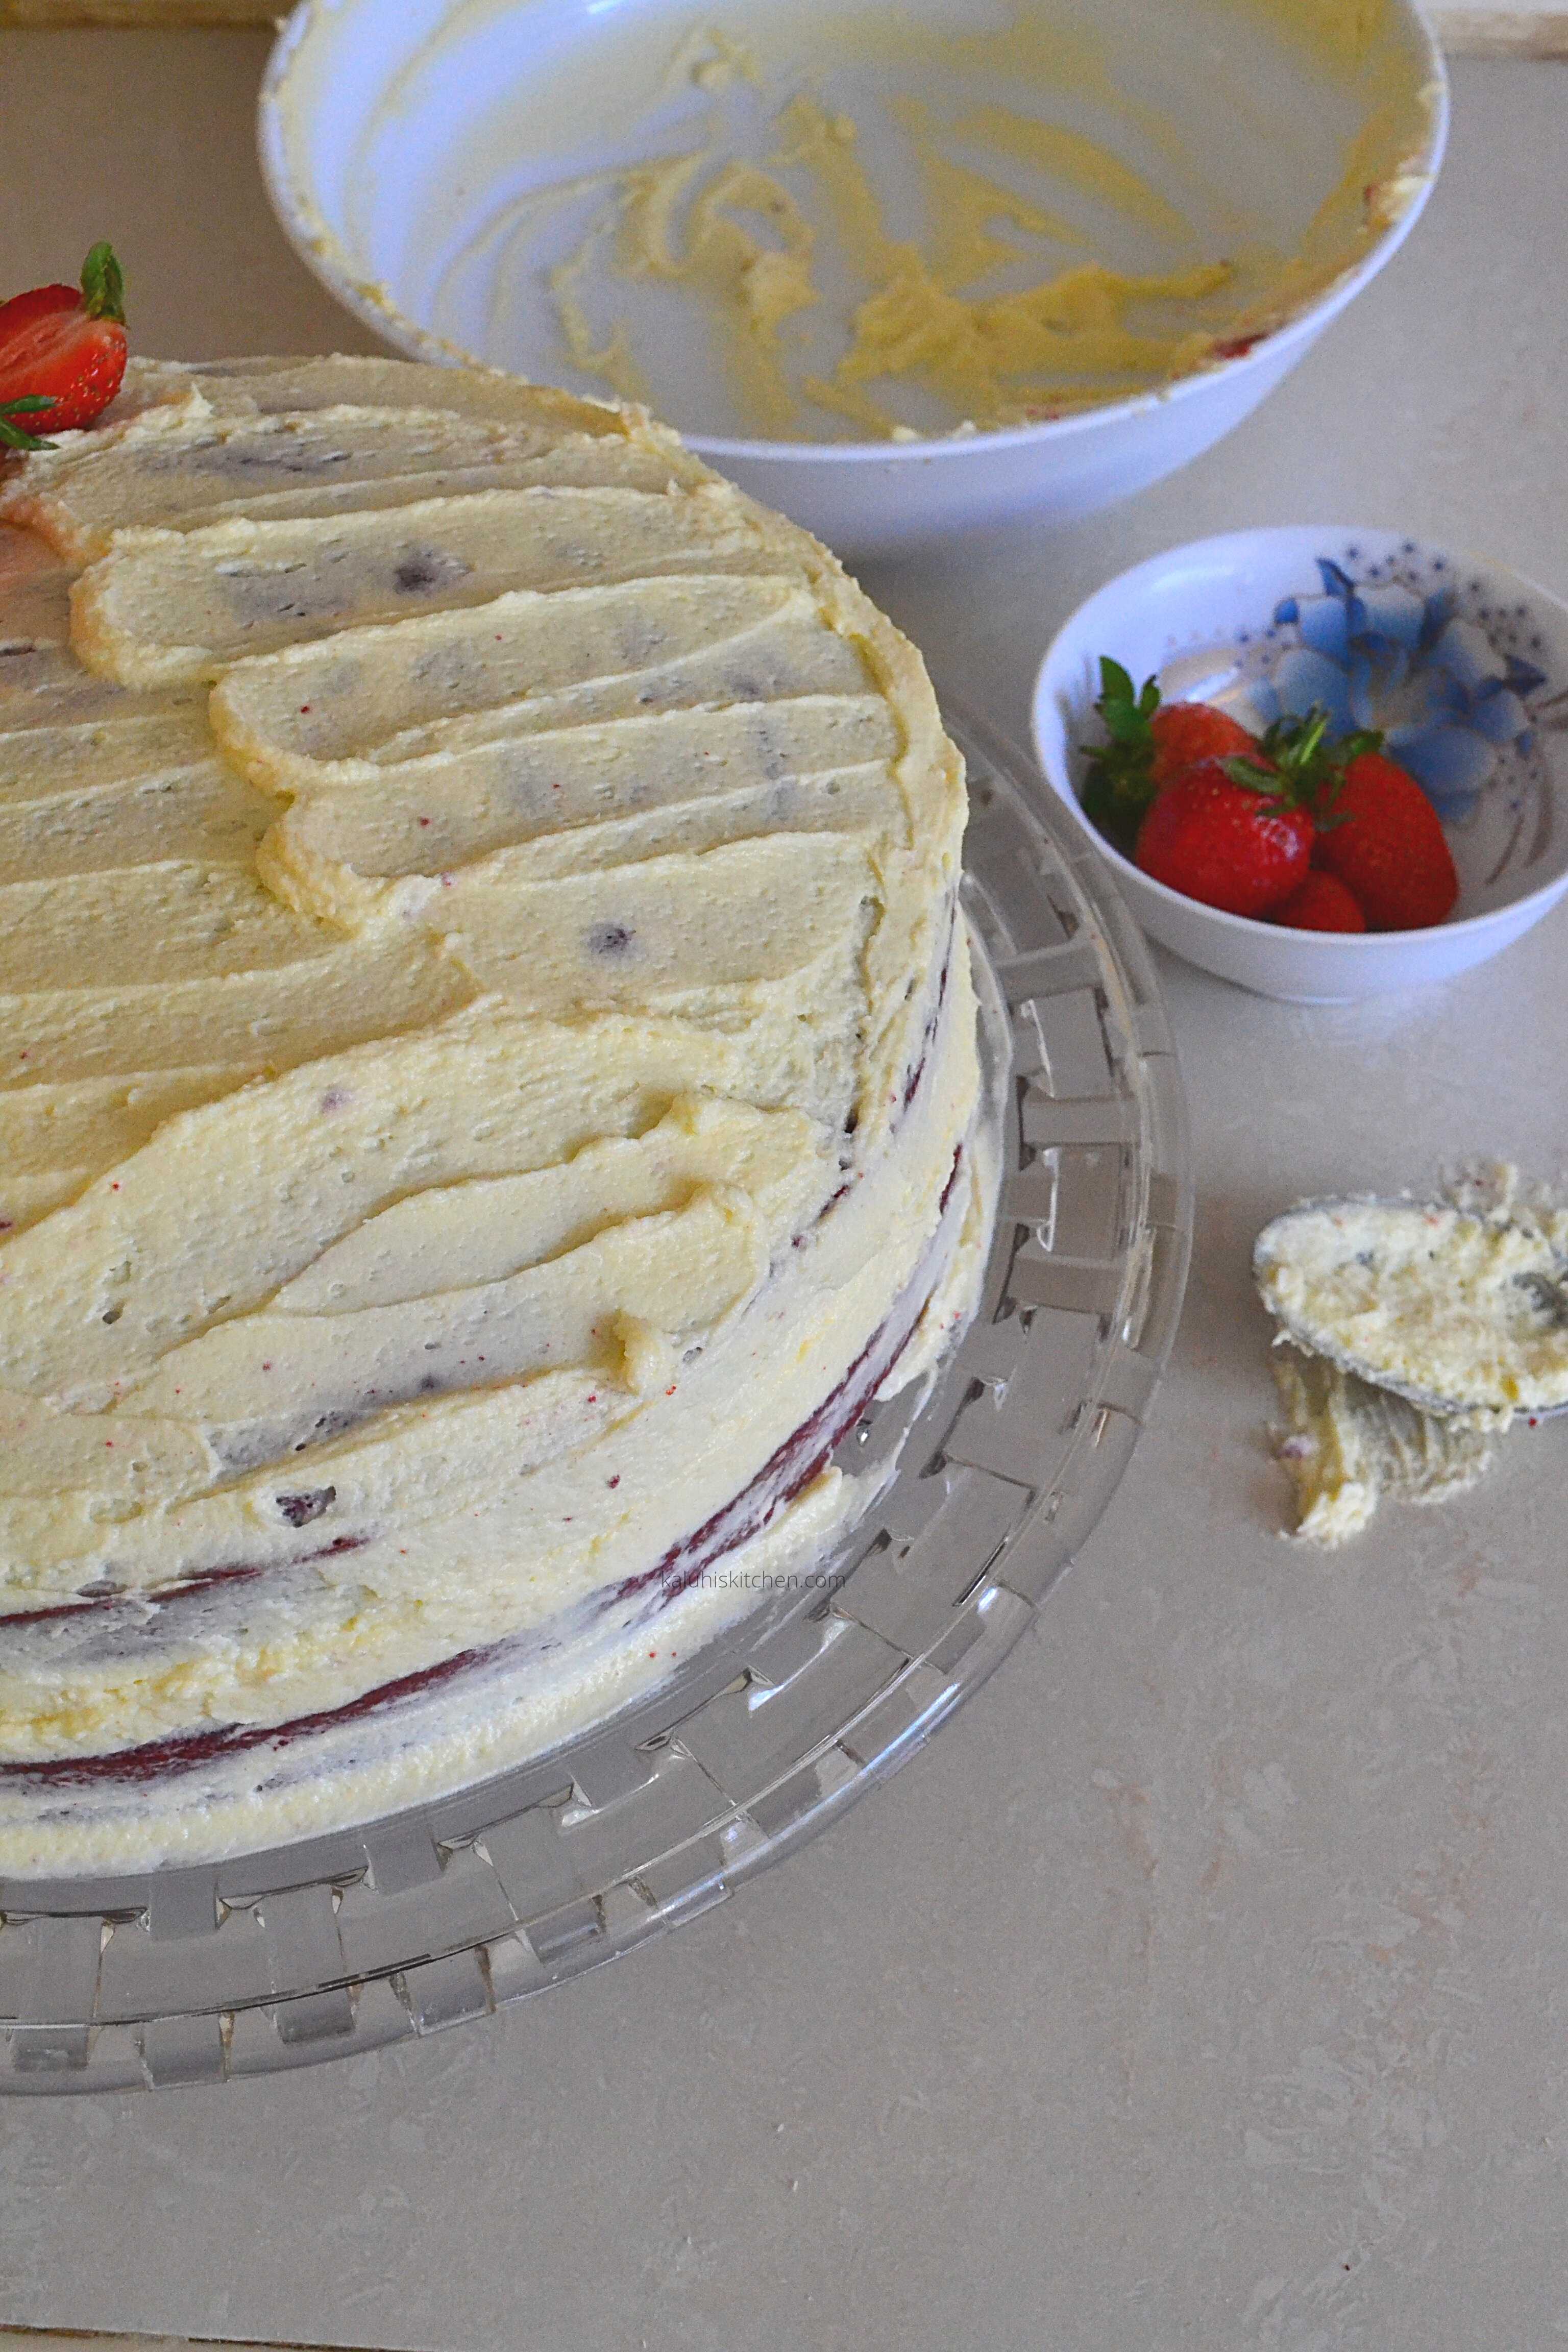
I purchased my cake stand (12 inches wide) from Carrefour at 4000shillings. I know there are cheaper ones around but I was to exhausted to go on a hunt so I just swiped that card. Watch how I assembled, layered and frosted the cake from 11.27 – 11.55.
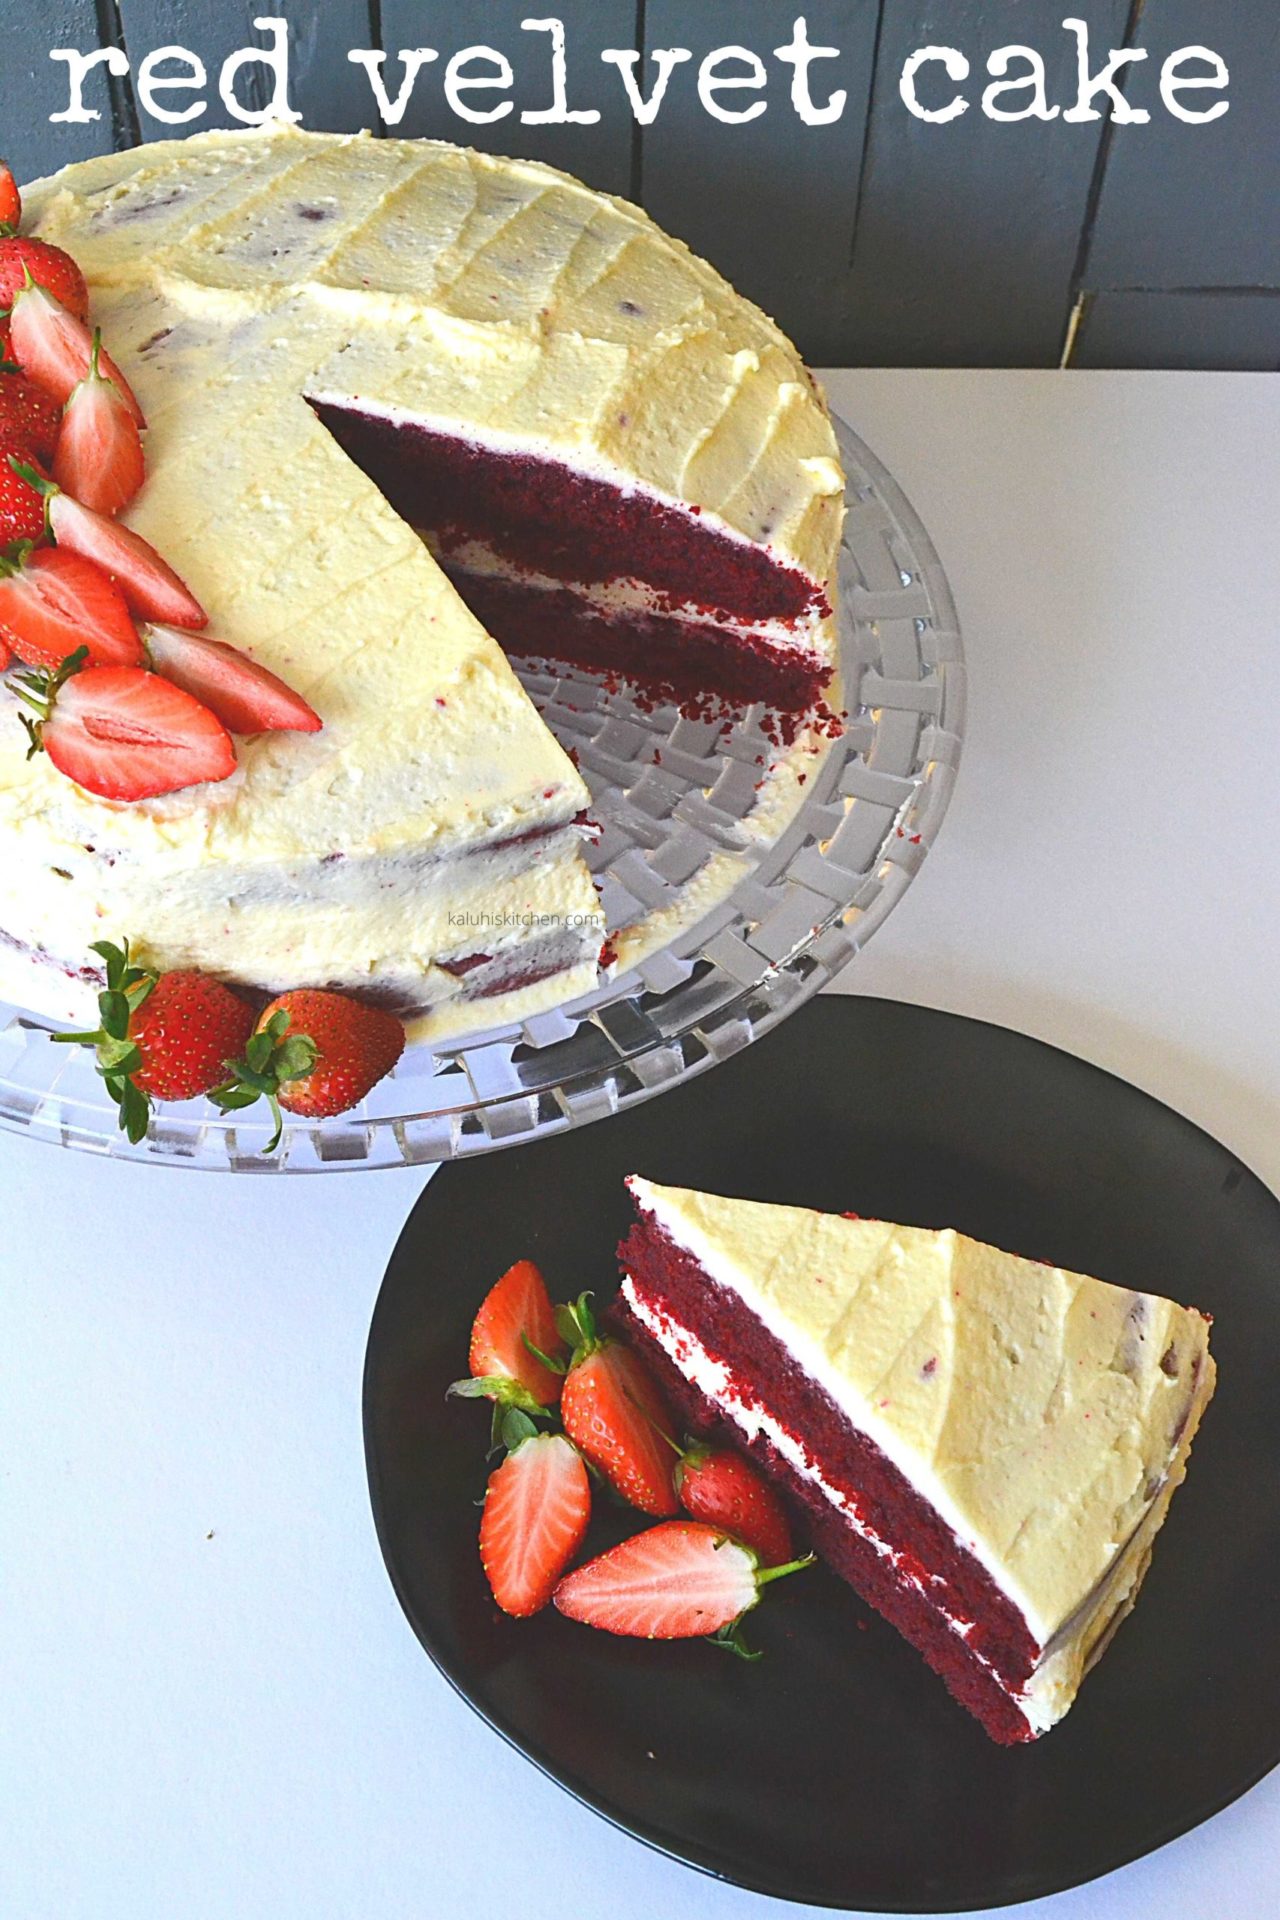
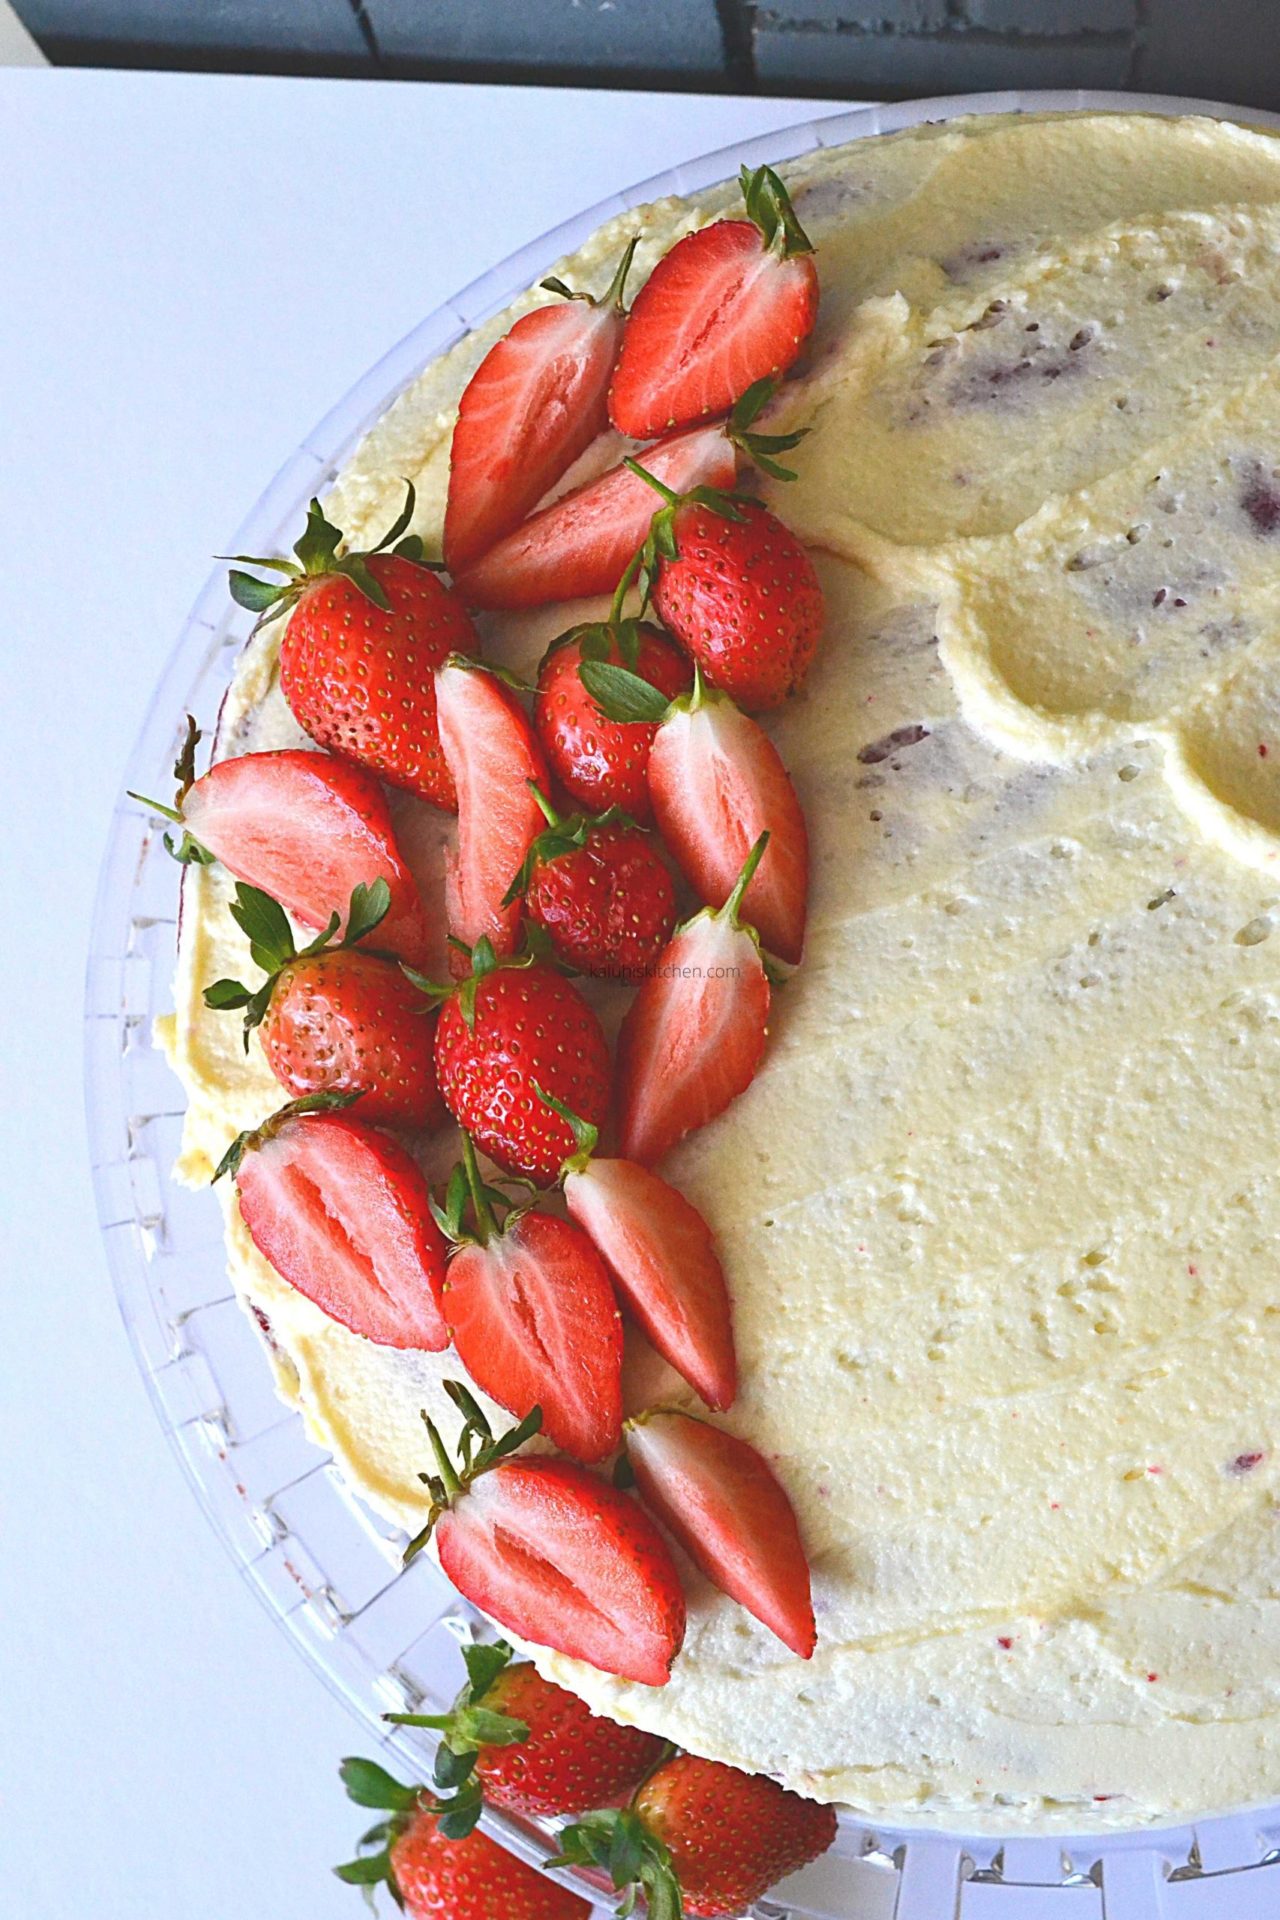
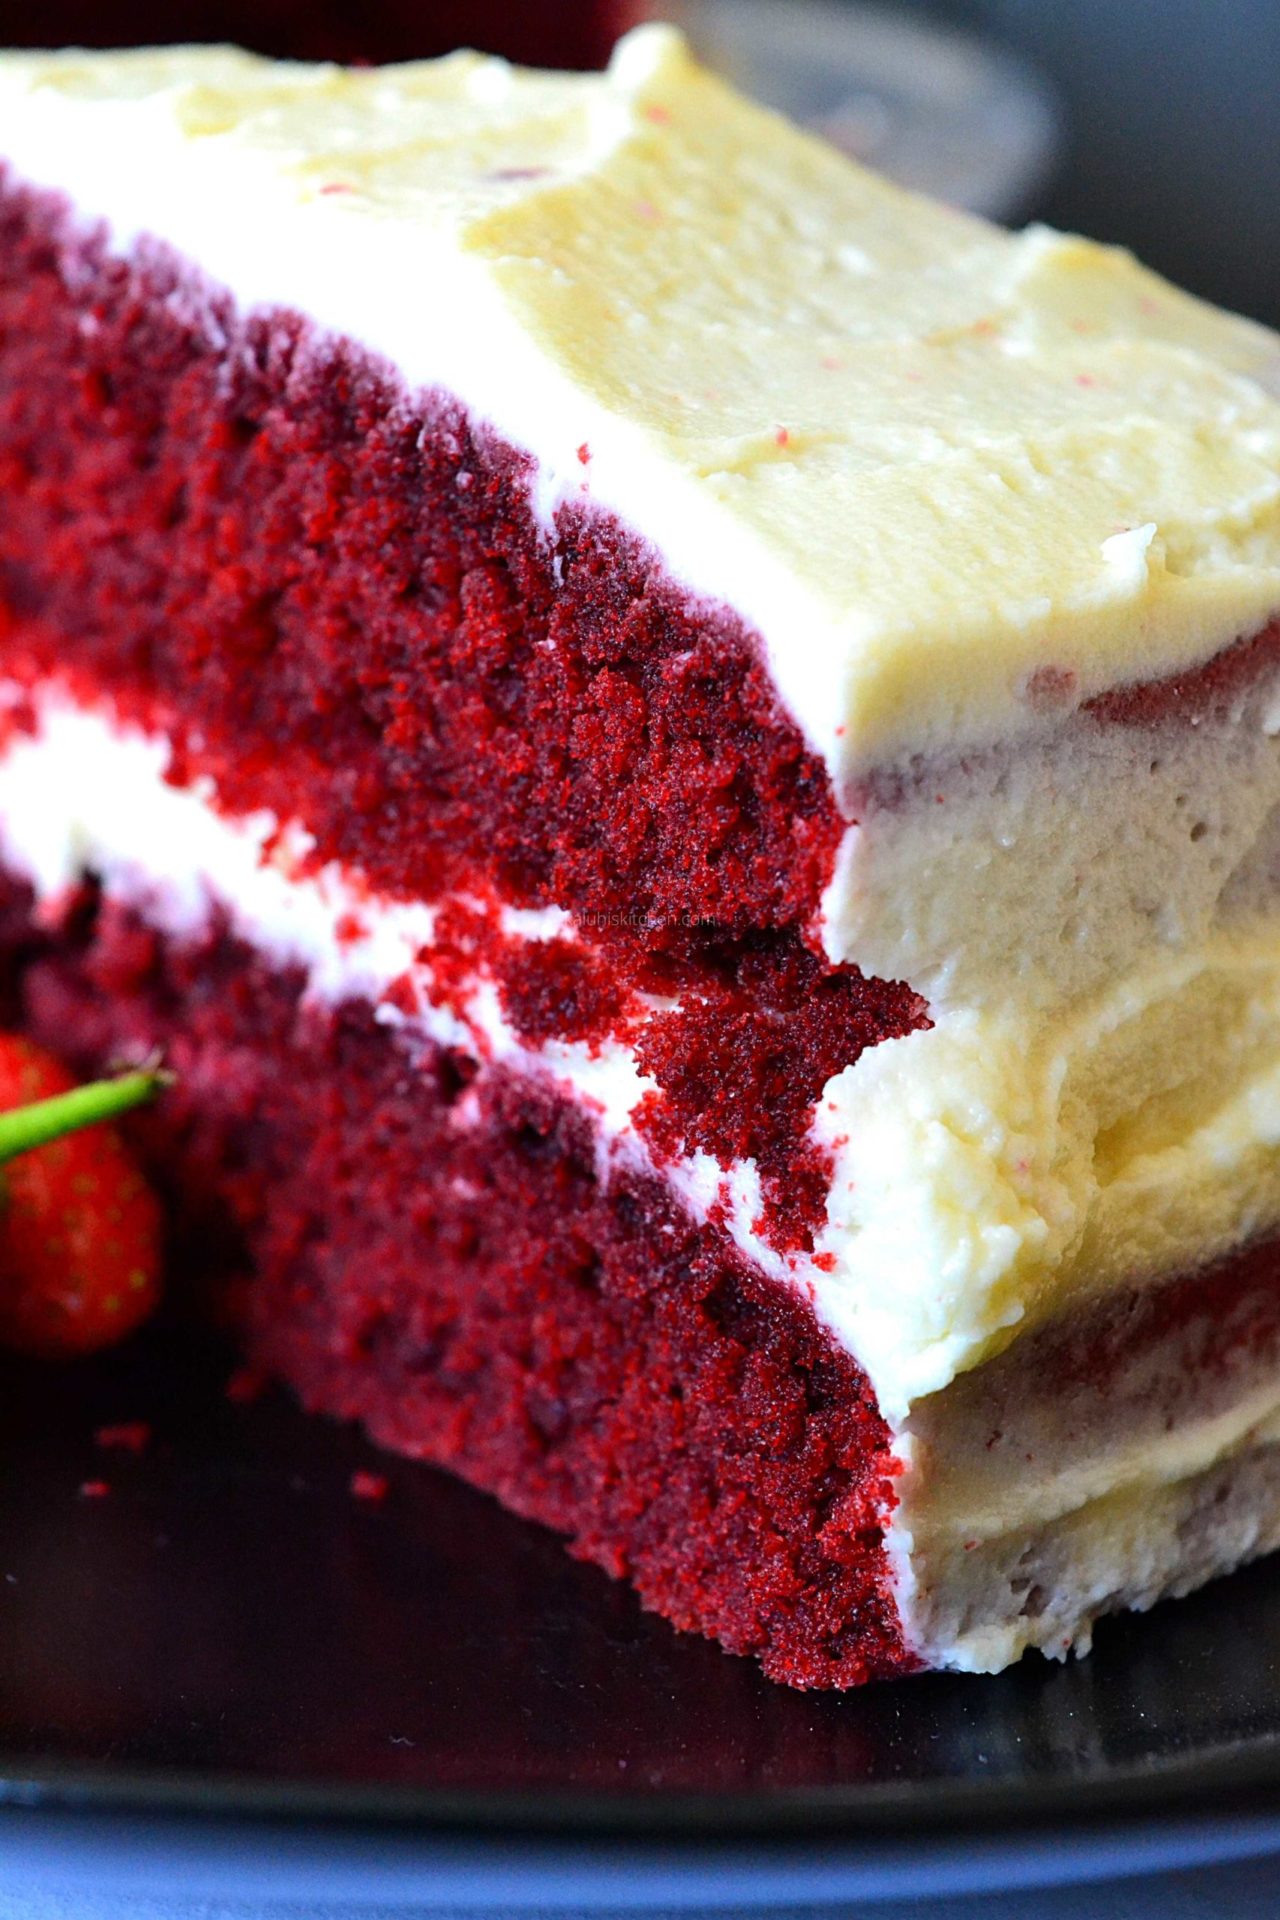
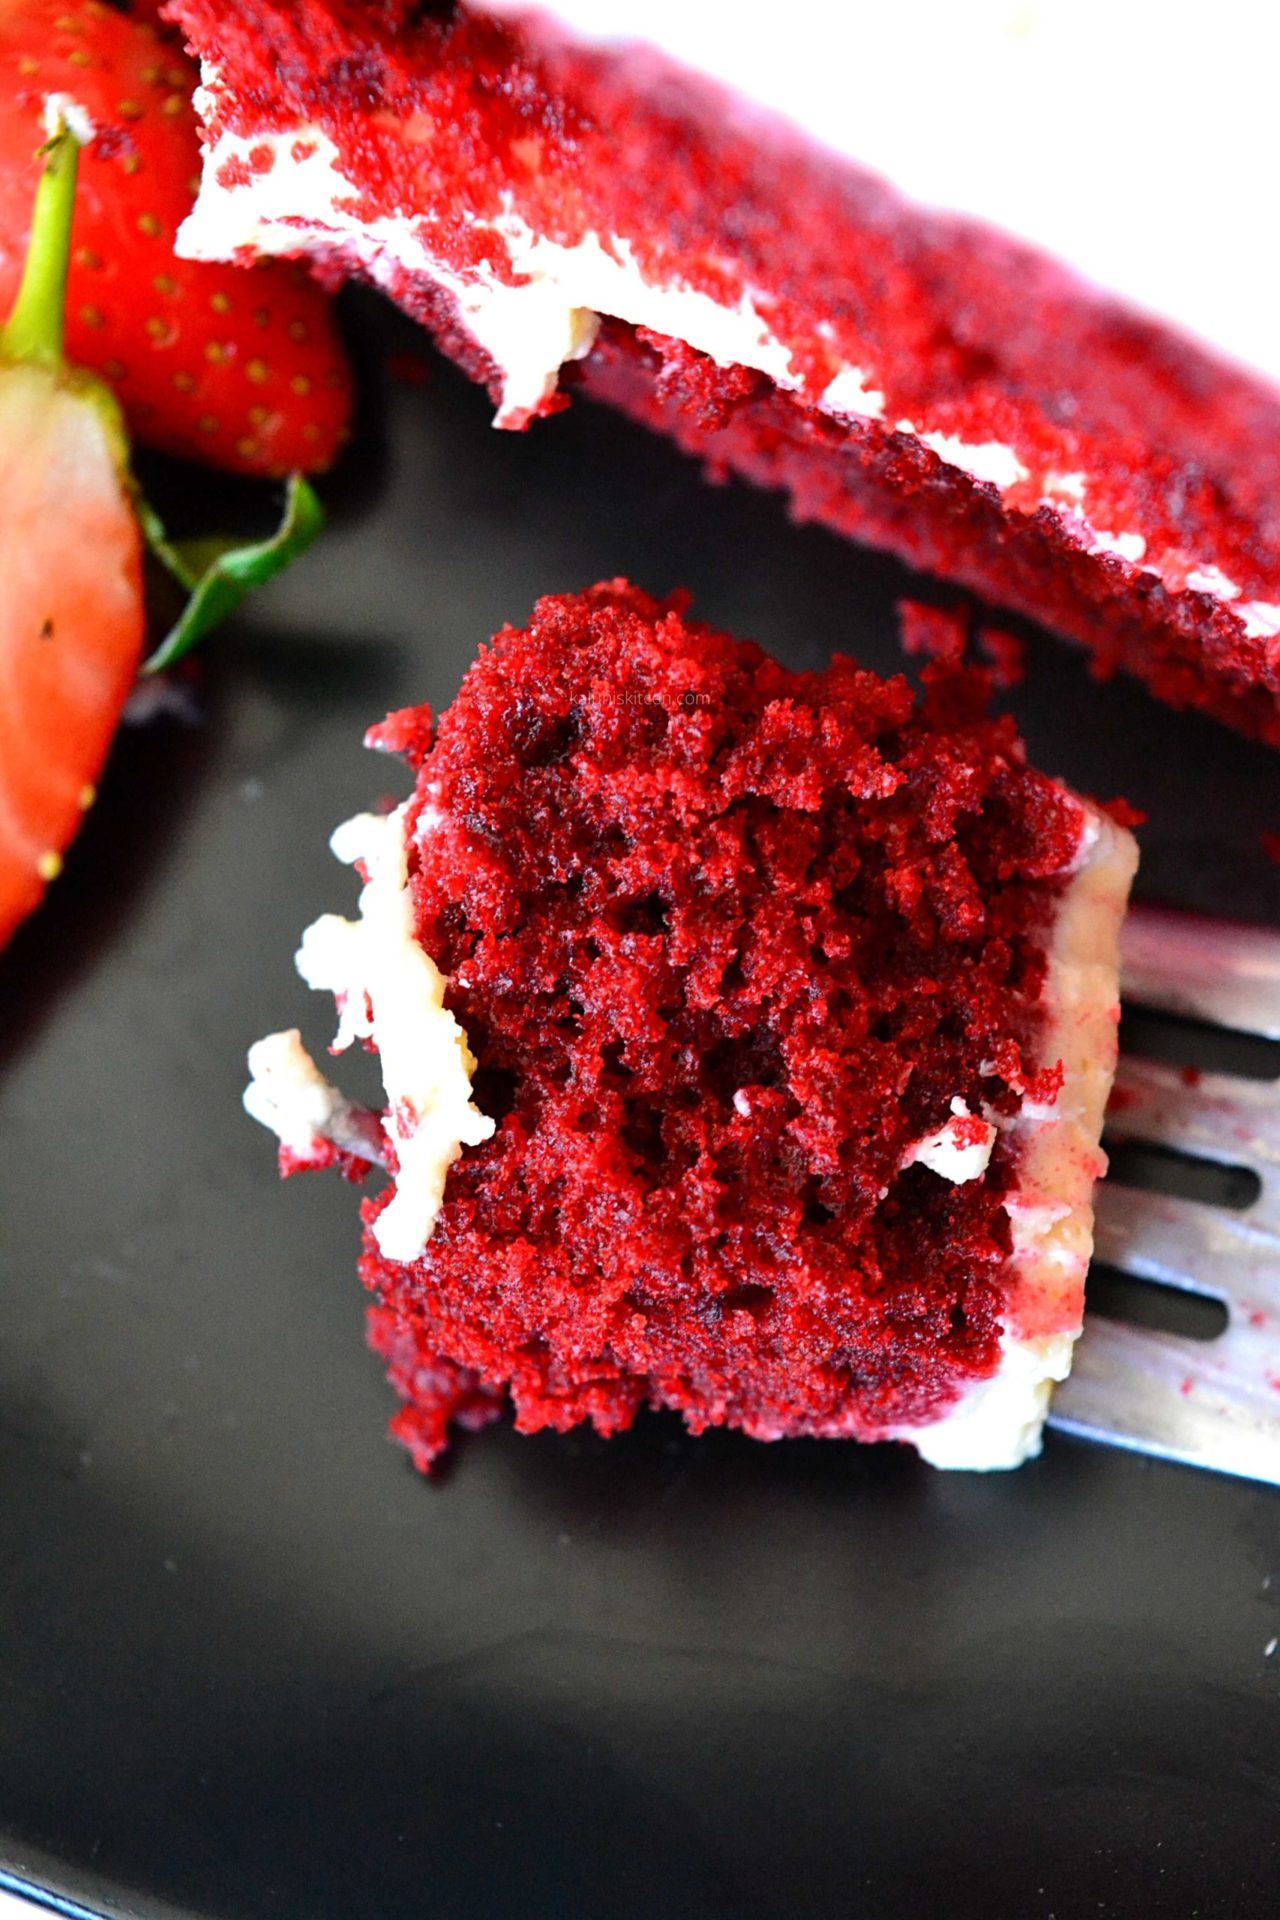
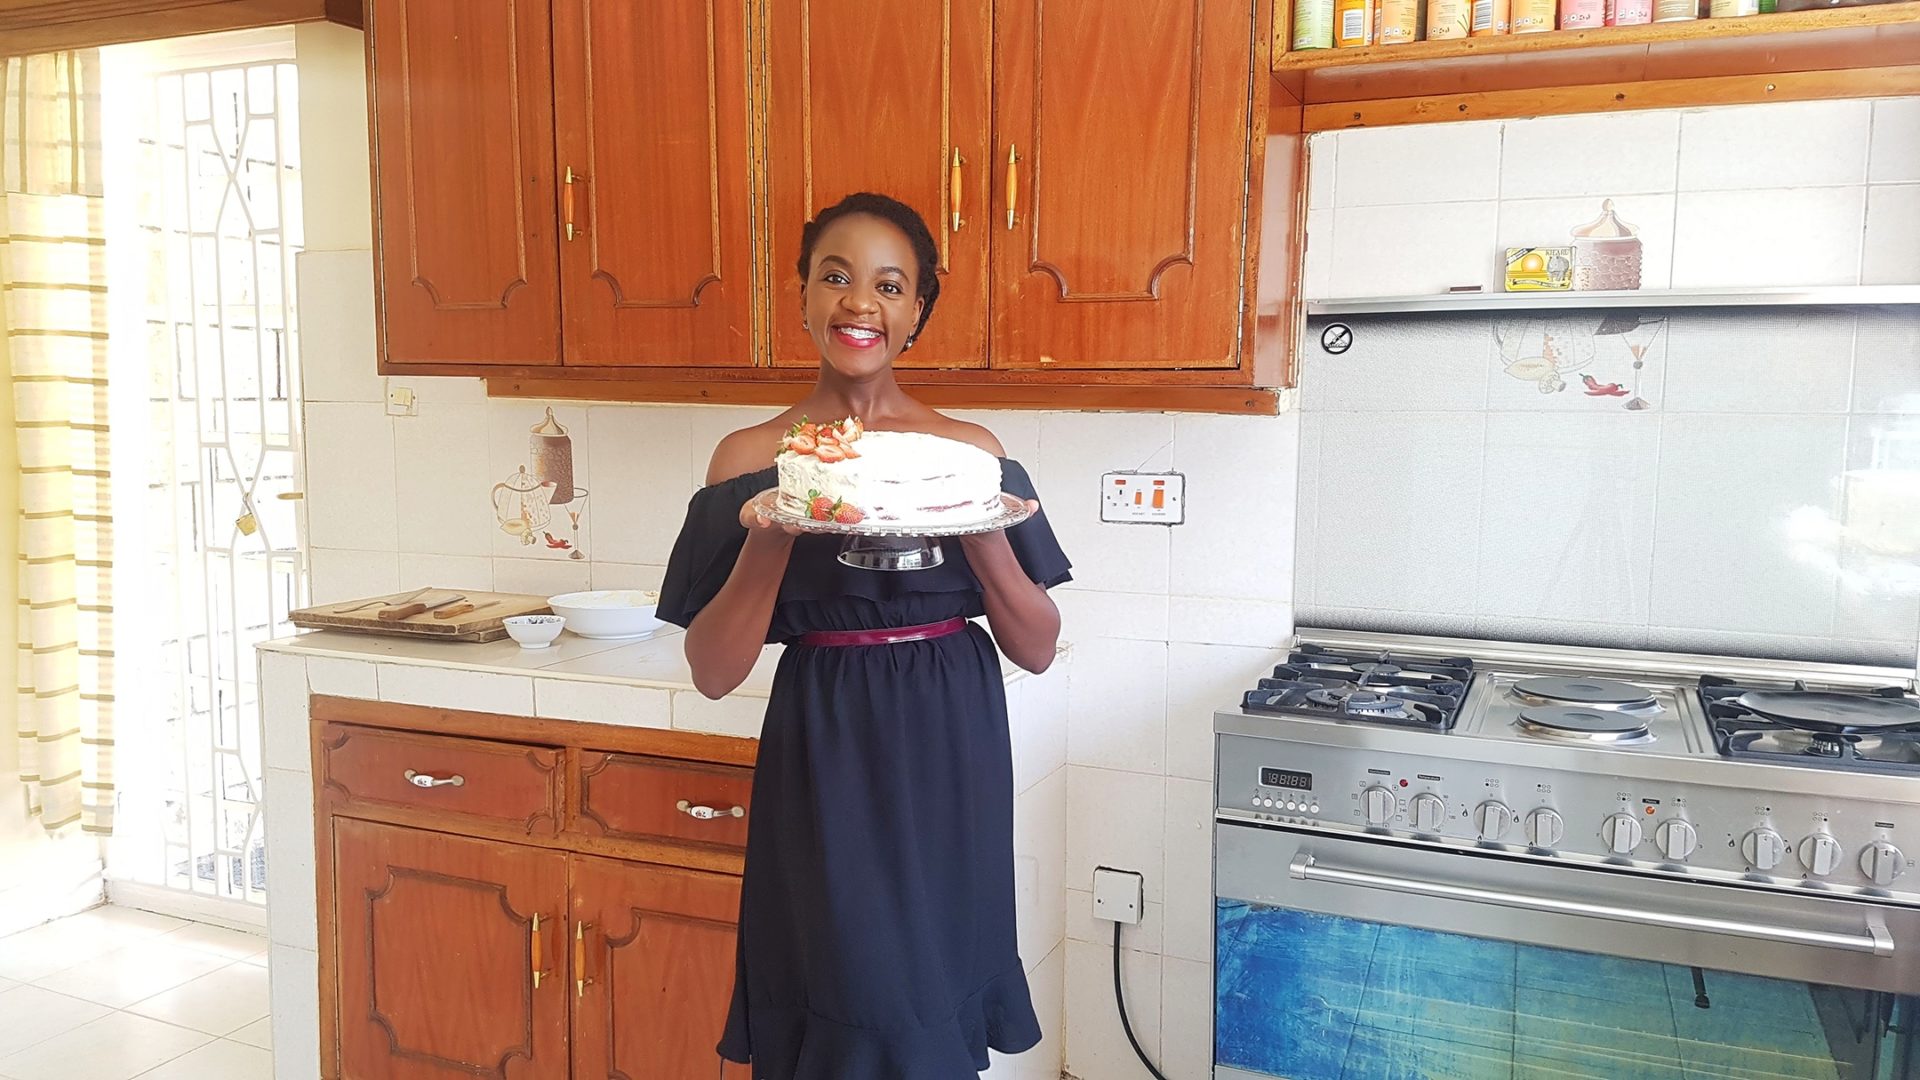
Once frosted, garnish with some fresh berries and slice a giant slice for yourself. Look at this perfect beauty! Look at her!!!
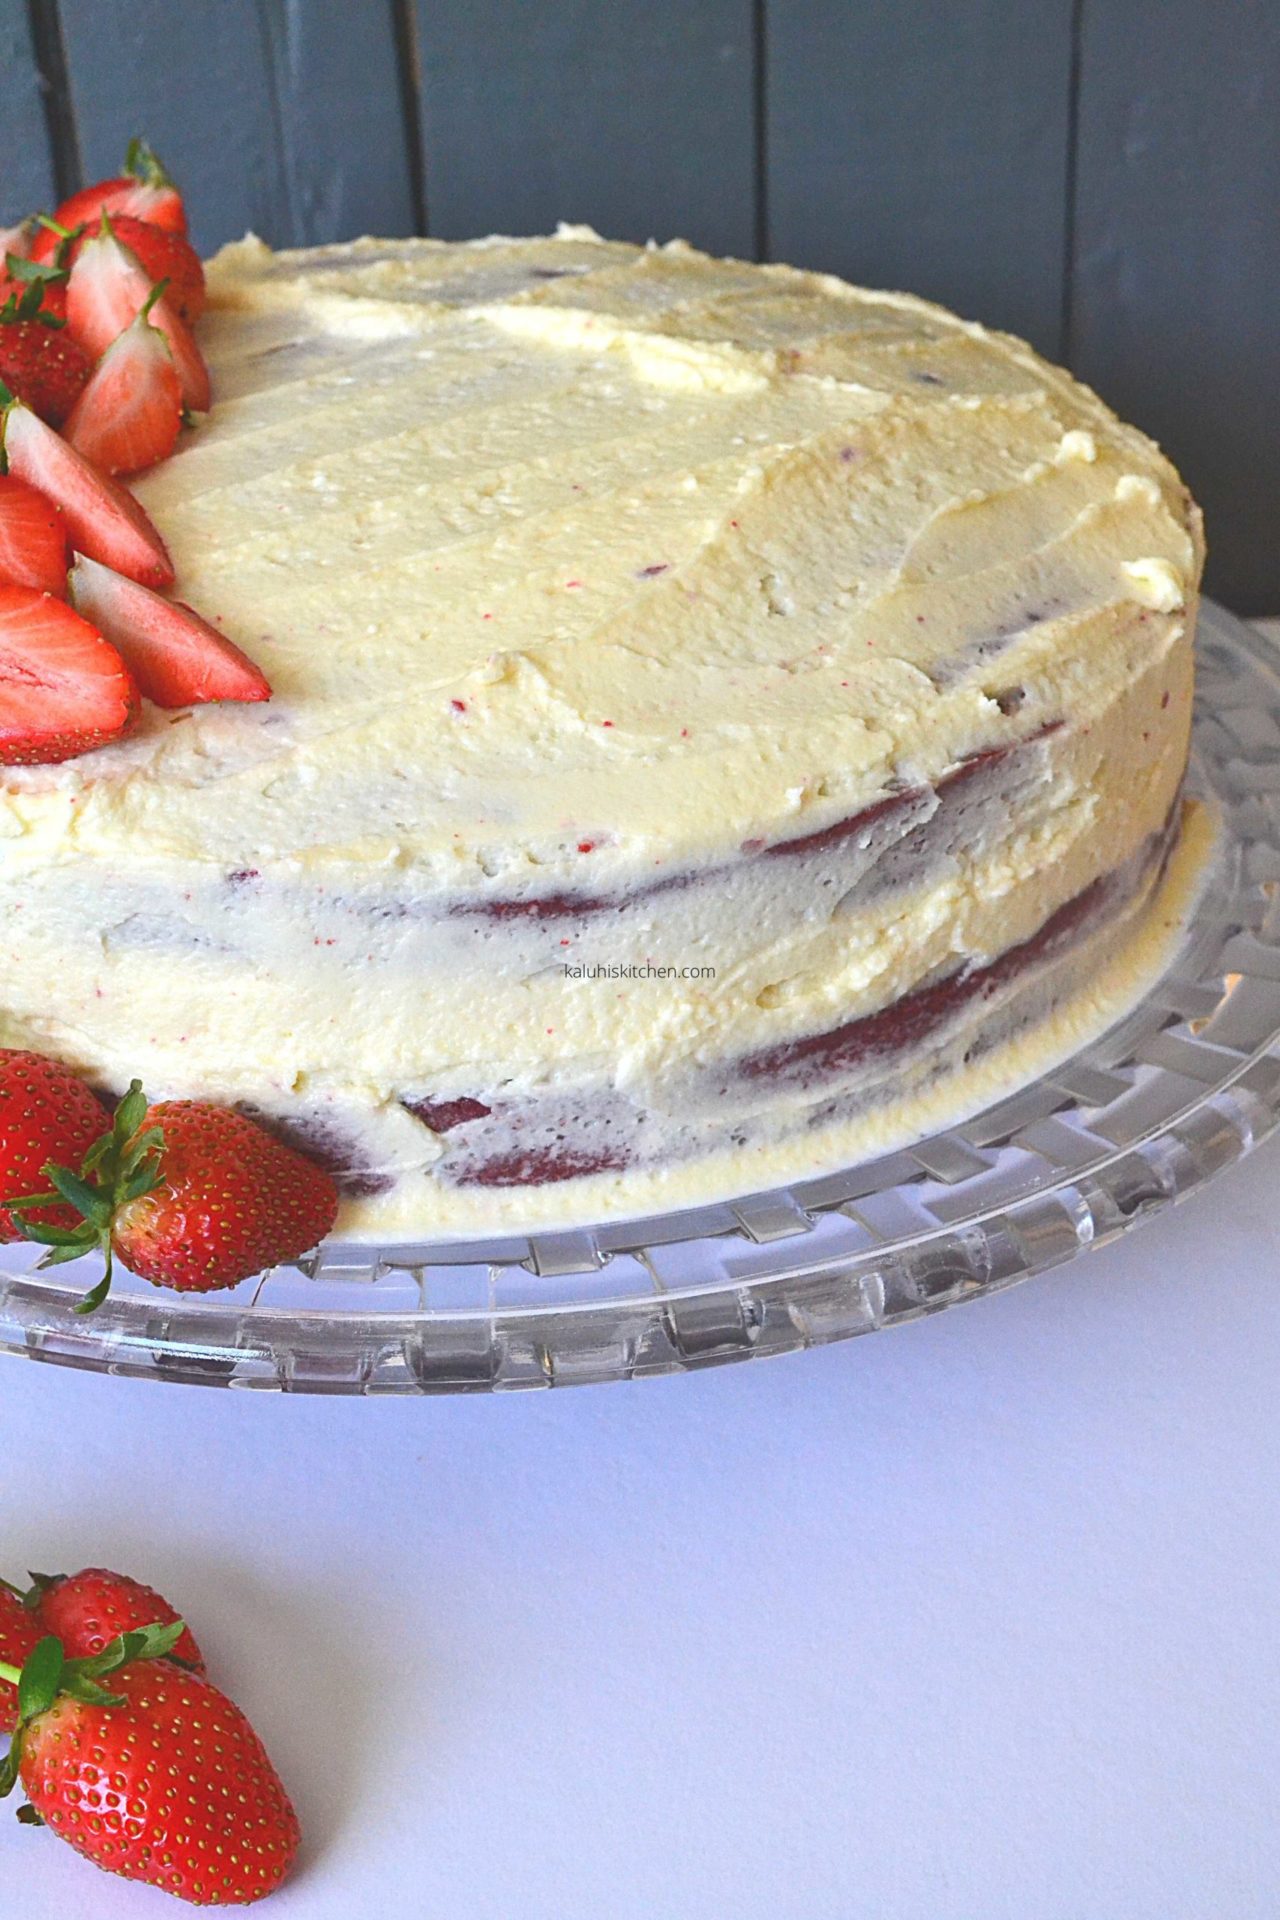
This turned out waaaaaay better than I envisioned it. The cake was large, roughly 2kg, and that was great because it meant plenty to go around and enjoy. By breakfast the following day, it was completely cleared.
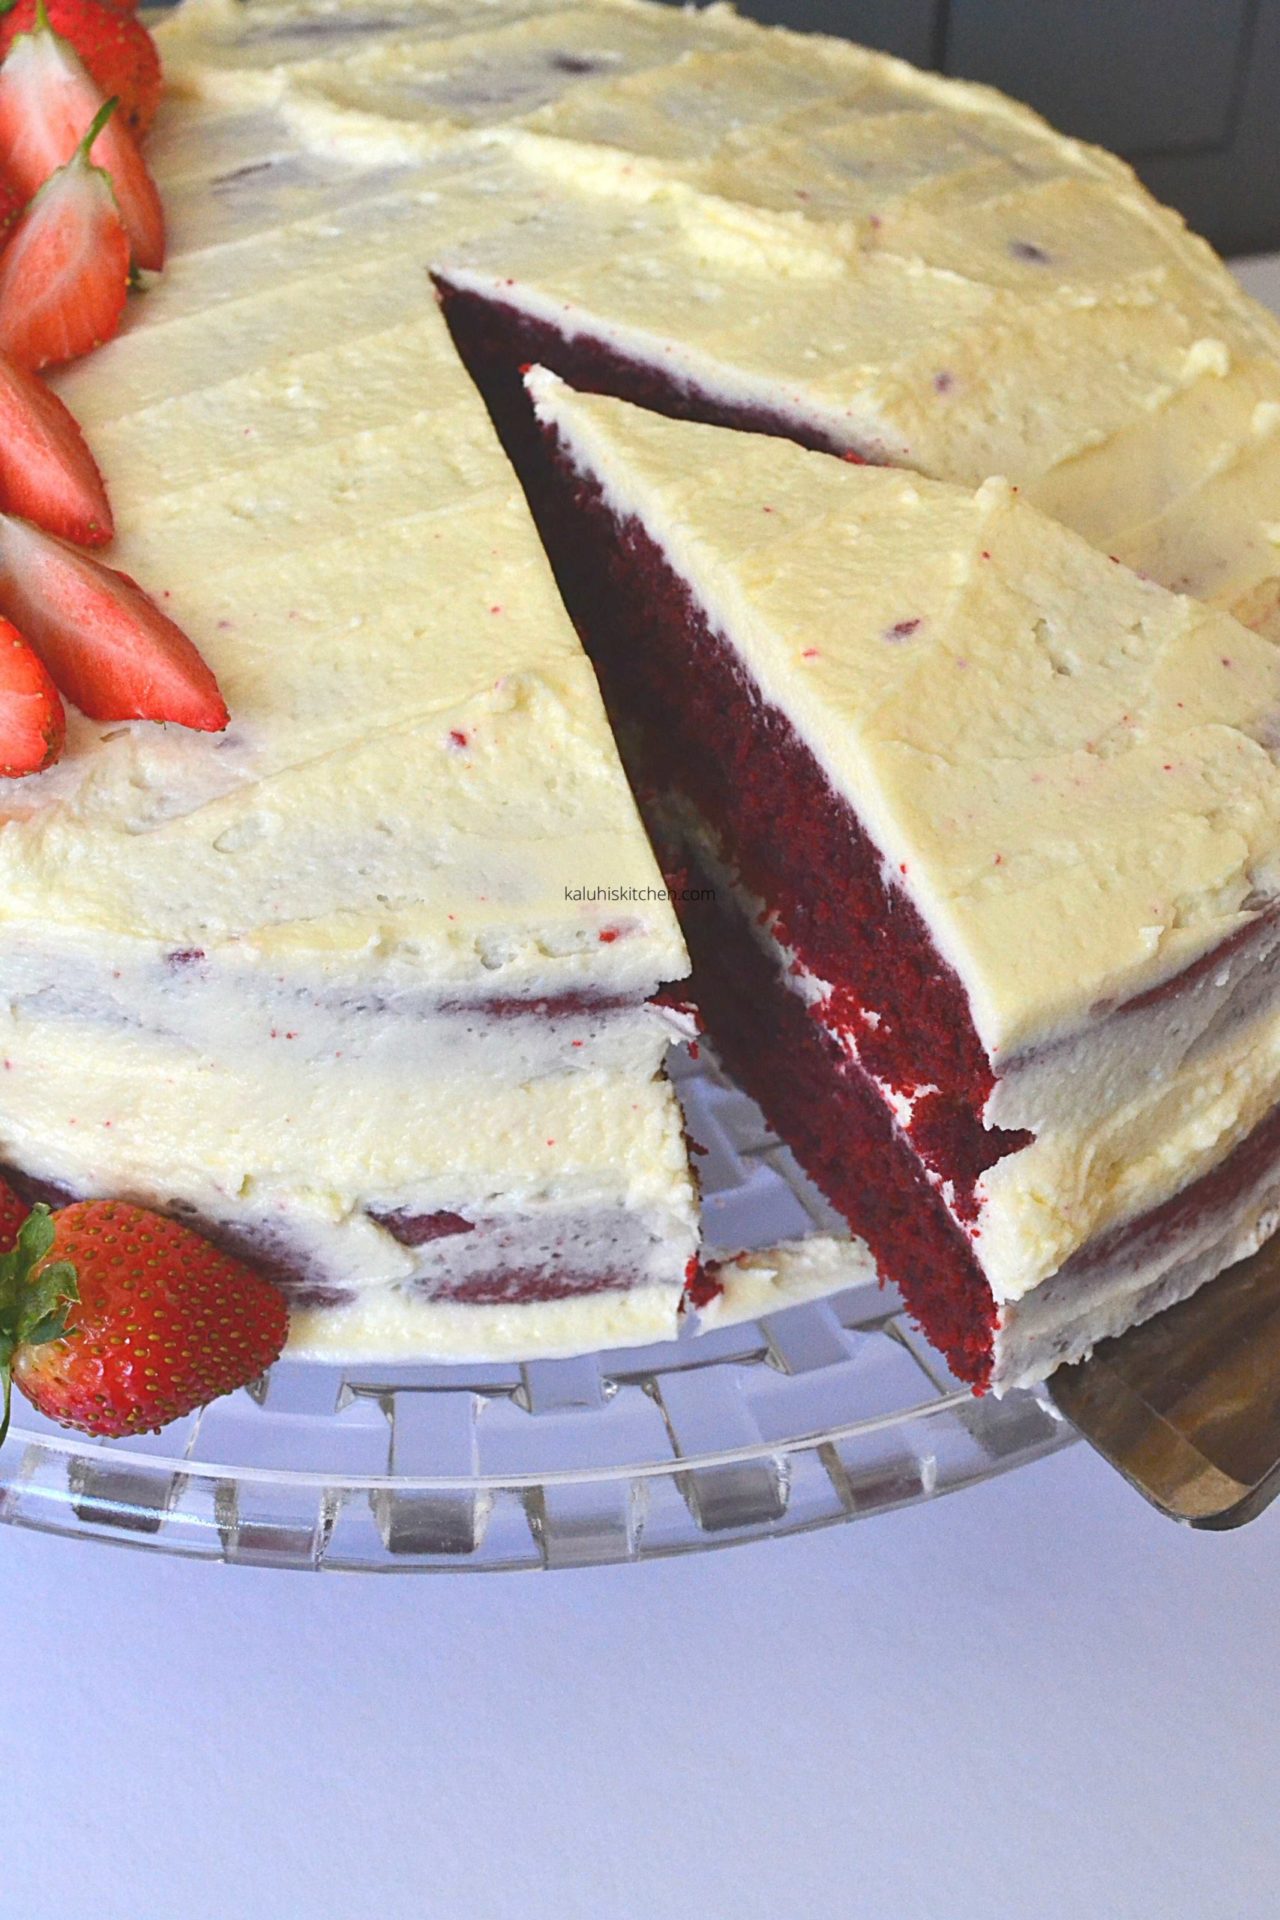
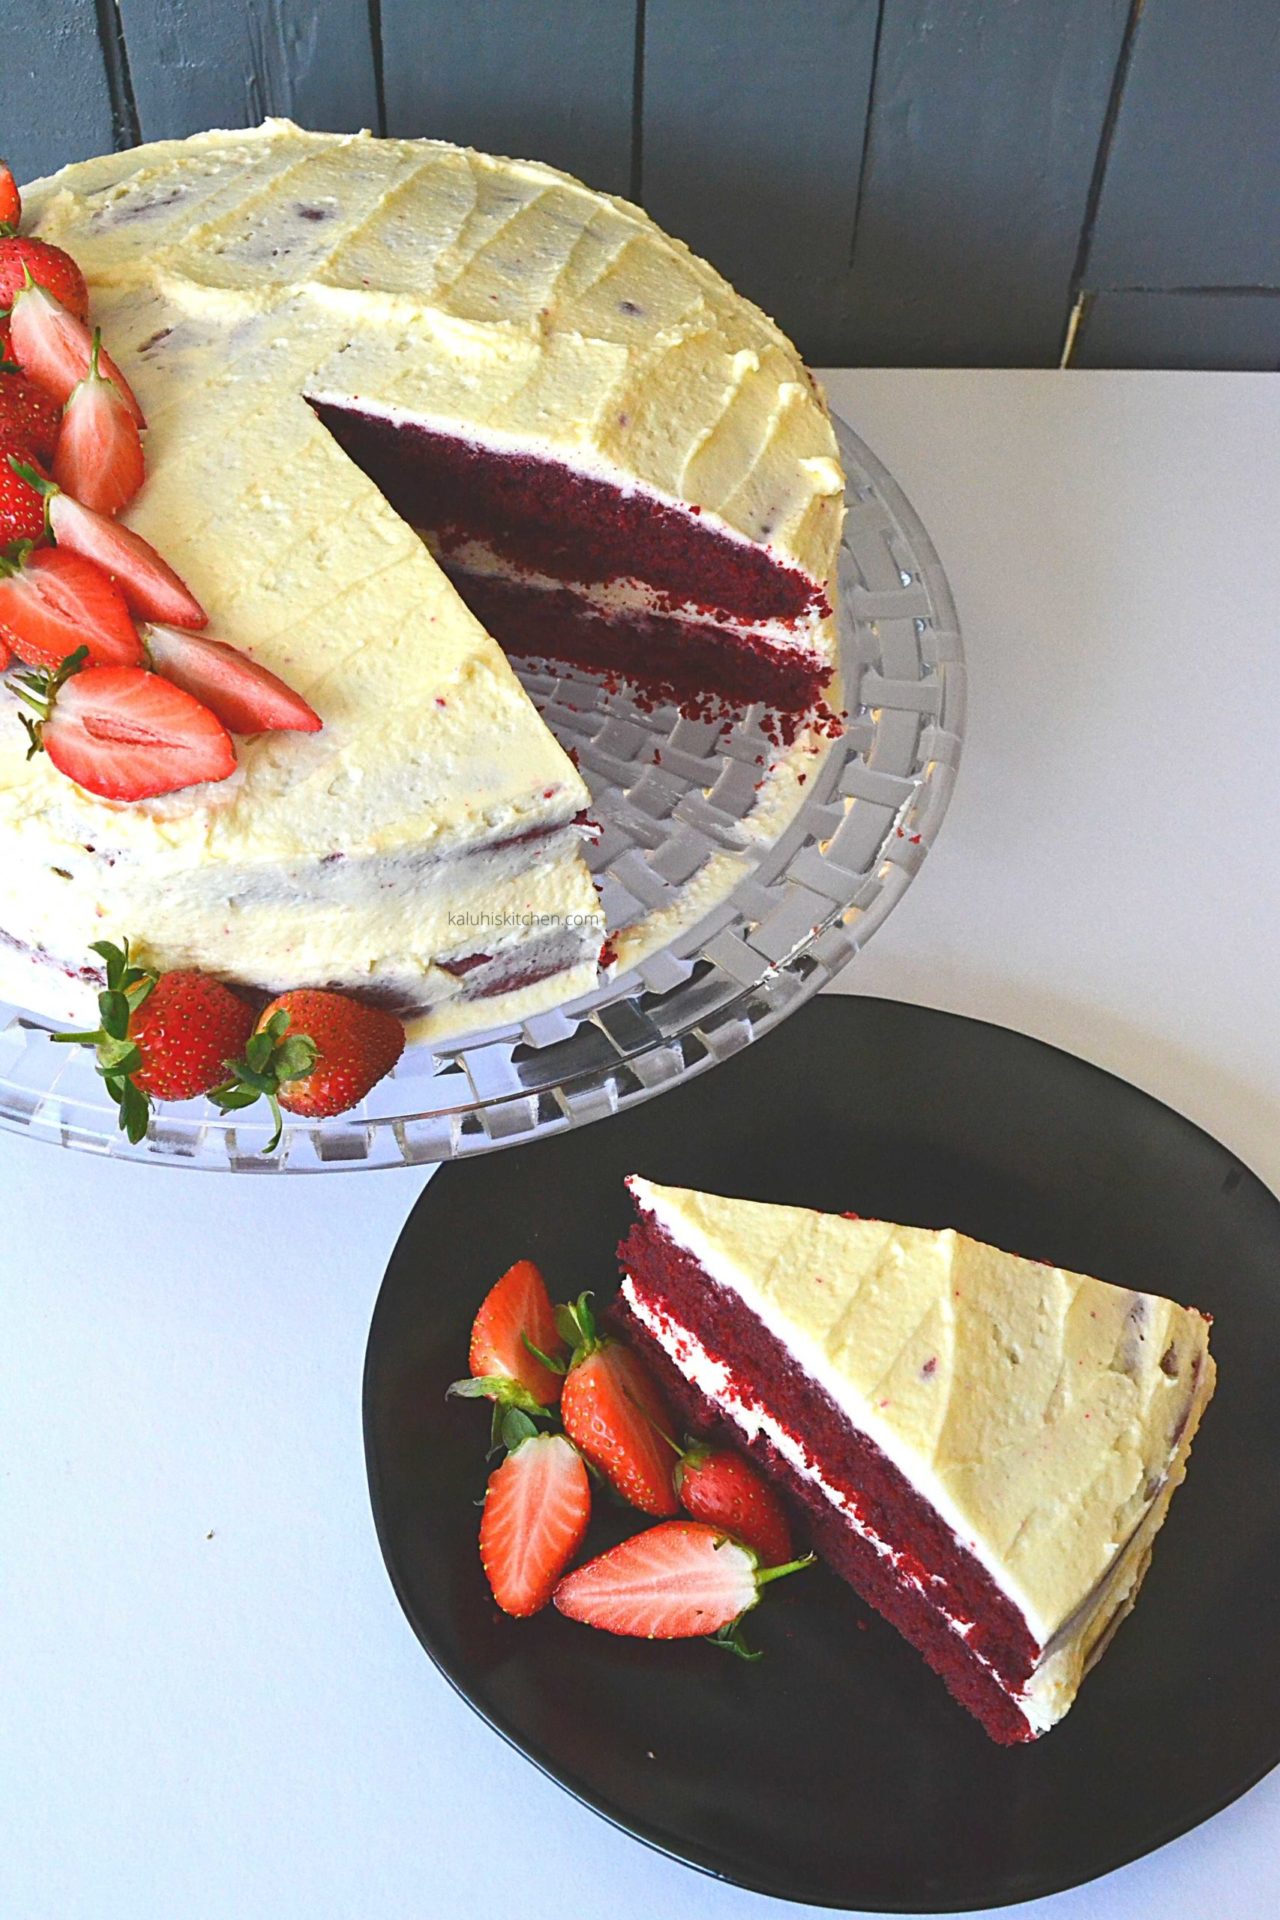
This had the perfect amount of sweetness that allowed it to embody the sweet nature of any cake but enough to allow the chocolate-y cocoa notes to shine through. It was buttery and very rich too. The cream cheese frosting allowed for a creamy bite and warmed up the richness of the red velvet cake itself!
See how moist the crumb looks? This is perfect!
I cannot wait to see you guys try this out! Make this for your family. Make this for your totos. Make this for your beau. Make this for your colleagues. Make this for yourself! It will for sure be the highlight of your Valentine’s weekend!
I made sure this blog is super detailed so that you ace it kabisa when you try this out at home. The complimentary YouTube video is equally as detailed, and I would love for you to watch so that you get a more visual flow of how this all came together. Do subscribe if you are yet to, I would love to have you. We are nearly at 60K subbies!
Love,
-Kaluhi
Get your downloadable recipe here :))

All content and images are copyright protected by

Do not copy in part or whole without giving due credit.
 Hey there! My name is Kaluhi and I love food! Through my blog, I am happy to share with you my self-taught recipes, steeped in nostalgia and the happiest of memories. I hope each recipe you try out is as addictive as the previous one and is shared on a table full of love and hearty laughs!


Dear Kaluhi,
I cannot wait to try this. Kindly advise where I can get Vanilla Extract. The essence is just not working.
TIA
Why isnt your essence working? What is happening to it? Vanilla essence is a perfectly good substitute for vanilla extract. You can get some from Naisenya foods (find her on IG) but be prepared to spend a pretty penny. Vanilla essence is peeeeeerfectly ok for this
This post and video were both sooooo detailed. I got courage to bake. I baked yesterday for work and it all ishad at tea break. Making another one on Sunday for my sons. Love it
So glad the details were of mighty use to you and fired you up into baking. For sure your sons will enjoy the cake the same your collegues did
THANK YOU FOR THE RECIPE!!!! For the first time ever, i made a red velvet that turnex out spongy and flavorful!!! Your recipe was (and is ) the perfect guide
Yaaaaaaaaas Cheers to many many more baking wins! And you are most welcome!
I had everything exact except the pan (mine are 7 inches). I followed the ingredients to the lettrer and made sure to test doneness as you emphasized. But si i was nervous lol. Mine baked for about 35/38 min. Removed it immediately and she was perfect! Ka singetest, ingebacko. Thank you!
You were on the money when you were keen on testing the doneness. Proud of you for acing this and happy that your masterpiece was perfect!! You did so so well!
The most moist red velvet cake i have ever made. We watched the video then I printed the recipe and we made it with my DM. We loved the outcome and we will bake again and again and again. Tunashukuru!
This made my heart swell with so much pride!!! Baking together with someone makes the experience even better and hope you continue acing all other recipes you try out!
I loved this alot. But mine didn’t look as pretty because it stuck onto my baking tin while removing and the rest just cracked. It tasted great but it was a mess in my kitchen
Pole! Did you line and dust your tin before pouring in the batter?
My pan said non-stick so i didn’t line. I dod not think it would be necessary. I think thats where i messed up
Aaah! We have found the issue. It is always safe to grease and dust and/or line as well. Even if a pan says non-stick, just ensure you have your bases covered so that preventable mistakes do not happen. Next time I know it will all come out perfect.
Hey, what if I decided to turn this into a sheet cake? what temp and how long should I bake it for?
That will depend on how thick your sheetcake is as well as the dimensions of your tray. Because I know neither, I cannot tell you with any incling of certainity. But as I have sternly emphasized in the blogpost, if you choose to change the pan,test the doneness of your cake as you bake. Poke to see if it is done
Whats the name of your food color?
Red Food Color
Thanks for sharing such a wonderful recipe. Is it possible to share in grams too?
I do not own a scale so unfortunately I cannot do that at the moment
Thank you for the recipe, this is the cake we’re having for Easter.
Wish me luck 🥰🥰🥰
I know you will ace it!
Why do we use vinegar
It is explained in the blog post
Thanks so much for the recipe. Which red colour do I use to attain the rich colour
Any that you find in your local supermarket would be perfect
Thanks 4 the recipe n detailed explanation…. however I’m not a fun of red velvet can I use the same recipe for blackforest in exception of red food colouring,n more of unsweetened cocoa?
Gai Carol, if you do not enjoy red velvet cake, do not make red velvet cake. A blackforest will need a slightly different technique and entirely different ingredients. Removing the red color will not transform this into blackforest aki. Go online,or on youtube and search for a black forest cake recipe. Dont guess a recipe out of thin air and also do not twist a nd force a red velvet recipe igeuke blackforest
Tried this recipe. Normally my cakes come out moist light and fluffy. This was thick and cakey(ugali ugali😭) dunno where I went wrong.
Let me know what you adjusted.
Which ingredient did you change/increase?
What temperature did you bake at (is your oven calibrated and is it a gas oven?) ?
What are the measurements of your tin?
Baking must be followed to the letter. If you change ONE thing, the outcome can never be the same.
This looks great! Definitely planning to try it out. By any chance, is it possible to give the metric measurements too because some cups differ in volume (UK/US) and I want to avoid a baking disaster. Thanks!
Hello
I’m curious, does mala adds a better taste than buttermilk.?
They can be perfect substitutes for each other. Use the one that is best within reach for you
I have been looking for a Red Velvet recipe for a very time. Settling with this, am so excited to try. Can’t wait to give feedback
I know you will love this!